Sunday 30 August 2015

The addiction: holiday hobby purchases and how there's just not enough time

I've been away on holiday in Kefalonia for the past two weeks, which means a complete break from converting and painting, but of course not from planning and collecting, which may be the more time consuming part of the hobby anyway... In between reading books around the pool and testing my engineering skills when building sand castles and moats on the beach with the kids (and once without the kids),  and all the other usual family holiday shenanigans, I occasionally logged onto a weak and intermittent wifi connection and accumulated some stuff, ready for my return home to wet England....

And on my return I realised that I bought a whole lot more than I usually would over a fortnight period and that the excesses and addictions of my hobby are never more apparent than when I'm away from the physical models themselves.:

My trove of Oldhammer hobby goodness. I found it harder to keep check of my purchases whilst on holiday (the same goes for the amount of meals we ate out etc), my natural inclination to reign in any superfluous spending just disappears on holiday. The only saving grace is that these were all pretty cheap purchases and I console myself that there will be many future hours of enjoyment from them, even if storage for my hobby is becoming rather tight..
A blast from the past for me here; back in the day I borrowed this from the local library (as I did for most of my reading and I used to use up all of my maximum of eight loans - usually at least one of those would be a fighting fantasy book!) This purchase was entirely inspired by the excellent blogging at Somewhere the tea's getting cold where the narrative of the book have been recreated in a skirmish battle. How fuckin' cool and pure Oldhammer is that!
And even more background reading. The cover art reminds me,; I must try and get hold of that mohawked ogre. The wife's away for a few days next week, so this will be my bedtime reading and I n her absence I won't have to worry about funny comments about my reading material or awkward page turning of a larger book.. Can't wait to get stuck into this though..
Some detailed scenery for my dungeon tile project - these are all from  dark-art-studios and on display here are some sarcophagi, treasure chests/piles, barrels and skull piles. Really looking forward to painting these up and adding some character and narrative to my dungeon.
5" Greek cake pillars obviously. These are also for my dungeon project, I'm intending to use these in the throne room , some of them will probably become ruined by chopping and cutting. I'll likely get some smaller ones too and add models on top to make statues.
A .99p Goblin. It's one that I had leading my Gobbo unit back when I had my original 80's army. Obviously I needed him back, perhaps to lead a warband (which would then obviously lead to me re-purchasing my entire 80's O&G army... must stop my project ideas...)
However I'm also excited by the promise that these purchases provide, there's a whole load of hobby projects just waiting to be worked on here, mostly for my dungeon tiles but also just for some background reading too. Oh, but I'm back at work on Tuesday :( , so I guess they will all be joining the backlogged and lengthening queue then as term time comes around again and my new teaching job starts. Yikes, which distracts from which??


Tuesday 18 August 2015

Blood Bowl : Brutal Deluxe, Orc Team

They're finished! I actually managed to get them painted before BOYL 2015 with the hope of getting some OldBowl in, but amongst all the other games I failed to get a single scrap in. But it did focus my time to get them to a completed stage, they've been languishing half-finished for an age. You may notice that there are still two spaces on the display board, these are for two future Black Orc blockers, so I guess this is still an unfinished project..😞

The team have been through a few different colour schemes for their kit, it started off as cream and brown, but I needed it to stand out more from my traditional Orc skin colour, so I eventually ended up with a blue and yellow scheme. I think the blue maybe a bit "baby blue" but I'm not changing it now. You can also see extensive rust too on the armour, I was hoping this would contrast nicely with the Orc's skin colour. Hopefully it's been successful. 

Here's the full squad:

The Brutal Deluxe team in all it's glory. It even had a display board made for them using an old picture frame, sand, static grass, brown paint and some gloss varnish for the muddy areas.

The star player/ player coach / all round awesome Blood Bowl Orc player. 


The big troll, the only "oldhammer" miniature in the team (and the first I painted for the team). Love this model.
 
The big guy, troll. I found an extra head in my bitz bix so thought, hey why not have a two headed troll; twice as stupid!
The all important Blitzers, including chainsaw and unibike rider.

The two Black Orc Blockers, still waiting to get the block skill
This Orc thinks he can play a bit.. But he still likes a scrap, aided by his snotling spotter.


Just your standard Orc linemen, ready to fight and try and leave a rusty mark on their opponents.


The Goblin Wizard and his two cheerleaders

The 4 goblin catchers and a couple of snotlings 


The additional stuff; 3 refills, turnmarker and a Dwarven

Tuesday 11 August 2015

Tutorial : Dungeon Tiles


I've been asked for a step by step tutorial as to how I am making my dungeon tiles - I always find that writing it up the process as a blog post is quite a good way of focusing the mind, remembering to take photos and to actually think carefully about the techniques (and to a lesser degree) materials which I use. It's very easy and quick to make and to be honest is a another one of those childhood dreams which I never got to realise 25years ago; I love being a big kid with the summer holidays ongoing to tackle some of my ideas/projects.
 So here's the completed tile:


And these are the steps:


Inspiration. I've trawled the Internet and my imagination (as well as taking my own photographs as primary source) to find images that inspire me. I'm sure you all have a folder on your computers somewhere with work that inspires your own ideas! I think it's a veryimportant part of the creative process (I tell my students this too - in fact their summer homework is entitled "Inspiration in Art"). My next tile will be based on my own photographs of stone work hat I have found whilst out and about today.

The tools I used to make it. I got hold of the blue extruded polystyrene from the Internet, it's official use is for underfloor heating, but I'm sure they get a lot of orders from hobbyists! I hear you can also get it from DIY stores too. You can exchange the ball of silver foil for a rough stone if you please, both work equally well.  The polystyrene does blunt your blades, so you may need a few, I do most of the main cutting with my Stanley and detailed work with my surgical blade. Probably the not important item here is the plan, it's well worth drawing it out in advance so you can check sizes and measurements in advance. I find the blunt pencil to be really useful too.
The finished guideline grid. You can see my markings to ensure each square is 1 1/2 x 1 1/2" and the outside (where the walls and doors will eventually go) are 1/2" all around. I felt that by having squares which are quite large (certainly larger than Heroquest) I could get more detail into each square / dungeon tile and also the larger size would accommodate larger models on larger bases too. Hopefully the tiles won't look too clogged up with models as can happen when they are smaller. It's drawn out using the blunt pencil lightly.

Go over each of your initial lines with the blunt pencil, applying quite a bit of pressure to make the dented line. Don't worry about being perfect with this, some irregularity looks good!

The completed grid. As you can see being inaccurate and freehand is a good thing to create a good effect.
The blunt pencil is great for creating indentations, especially in the corners. Just apply some pressure at about 45 degrees. It takes a little while to do them all but adds extra realism I think.
Using the blunt pencil to apply pressure, I've rounded off the edges and corners of the flagstones, you can also see a few other indentations using the same tool. 

Referring back to my inspiration, I've added all the cracks in the flagstones using my scalpel.


After making the initial cut, I then use the blade at 45 degrees to apply pressure either side of the cut. This softens the edges of the crack.


I've used my scalpel to dig out some areas to give extra depth to the flagstones, the deeper areas will have sand added later to show where the stone is missing and revealing the dirt beneath.

This is the first time I've tried this technique to capture the texture of rock on the pilystyrene, last time I used a stone. Both seem to work equally well as long as you press down quite hard and try and keep the indentations as random as possible. 

And the texture all completed.

Here I've added some sand to the areas where dirt has been exposed. Simple PVA for glue.

A very thin, diluted dark grey layer is added first, I find this helps cover all the tile and get into all the cracks and crevices. I see this as the alternative to the black spray primer that I would use of the polystyrene could take it without being eaten.

Here you can see my drybrushing palette; black and white with gradually lighter tones mixed up. I find a 1" brush ideal for applying the paint at this stage.


Dry brush with successively lighter tones. For me there's quite a bit of Oisin on the "drybrush" and some control too - generally brushing in the same direction and lighter towards the edge of each tile.
From my basing box, an assortment of Army Painter tufts, Woodland Scenics sponge, some Tilfur flowers and moss from my garden..

With some tweezers and a touch of PVA, these basing bitz were all added, mainly to cracks and crevices where they are more likely to thrive and grow.


The finished tile. I've added some camo green washes to the gaps and cracks and some areas of the tiles, painted the added bits - a piece of bone and the mushrooms and put small puddles of gloss varnish in recessed areas and the mud.


Saturday 8 August 2015

3rd Edition + Heroquest : BOYL 2016 plans

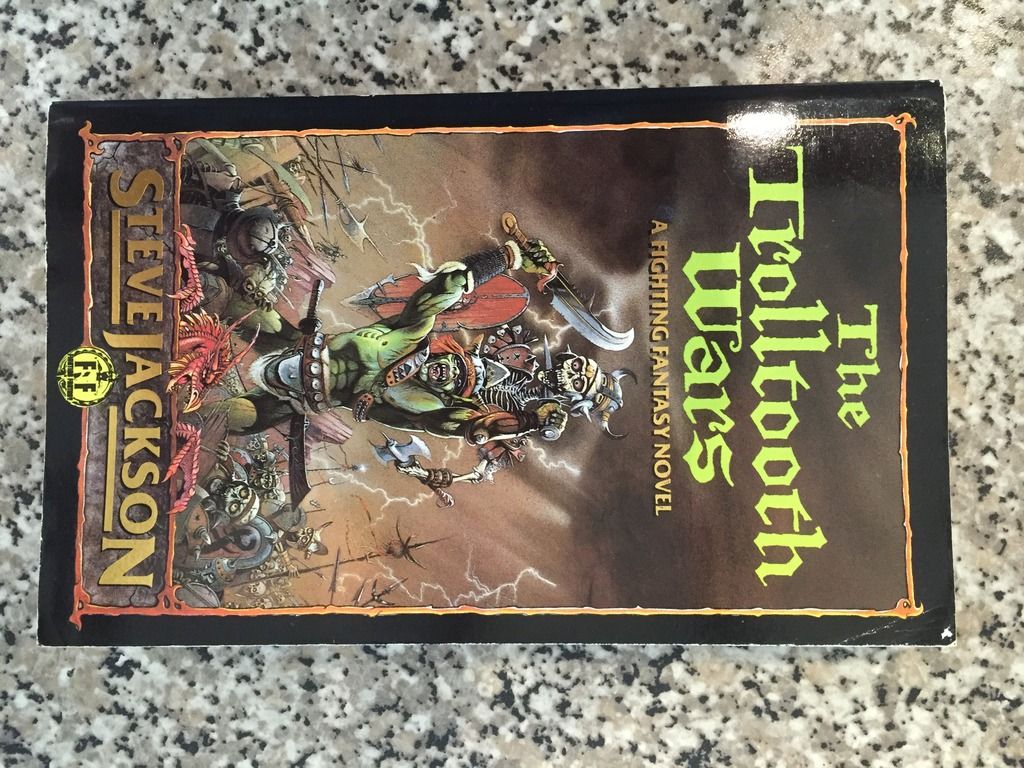
With the fun of the recent BOYL 2015 still fresh in my mind; I've begun to think what I can do for next year. As this was my second year attending, I now realise just how quickly it comes around and how I need to start making my plans now... I didn't organise a game this year (the year before I GM'ed the scenario; 
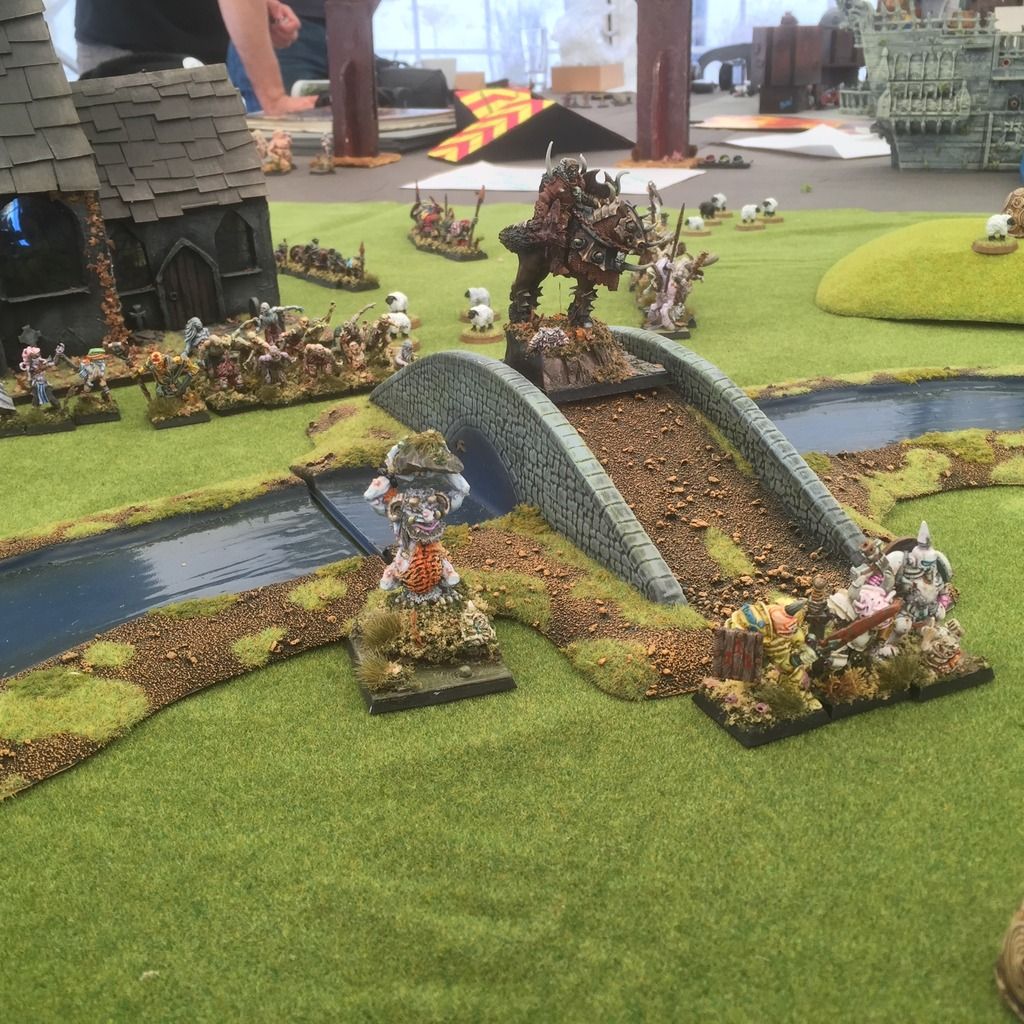
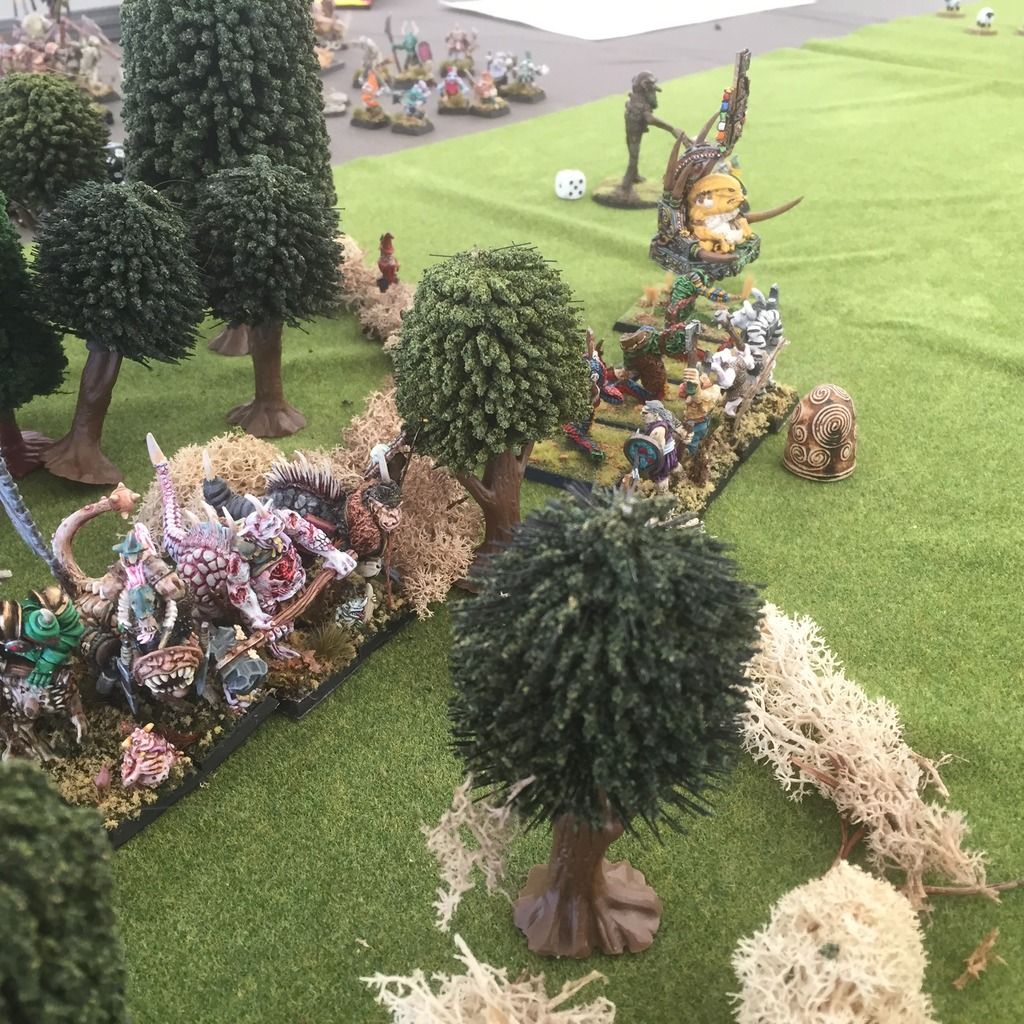
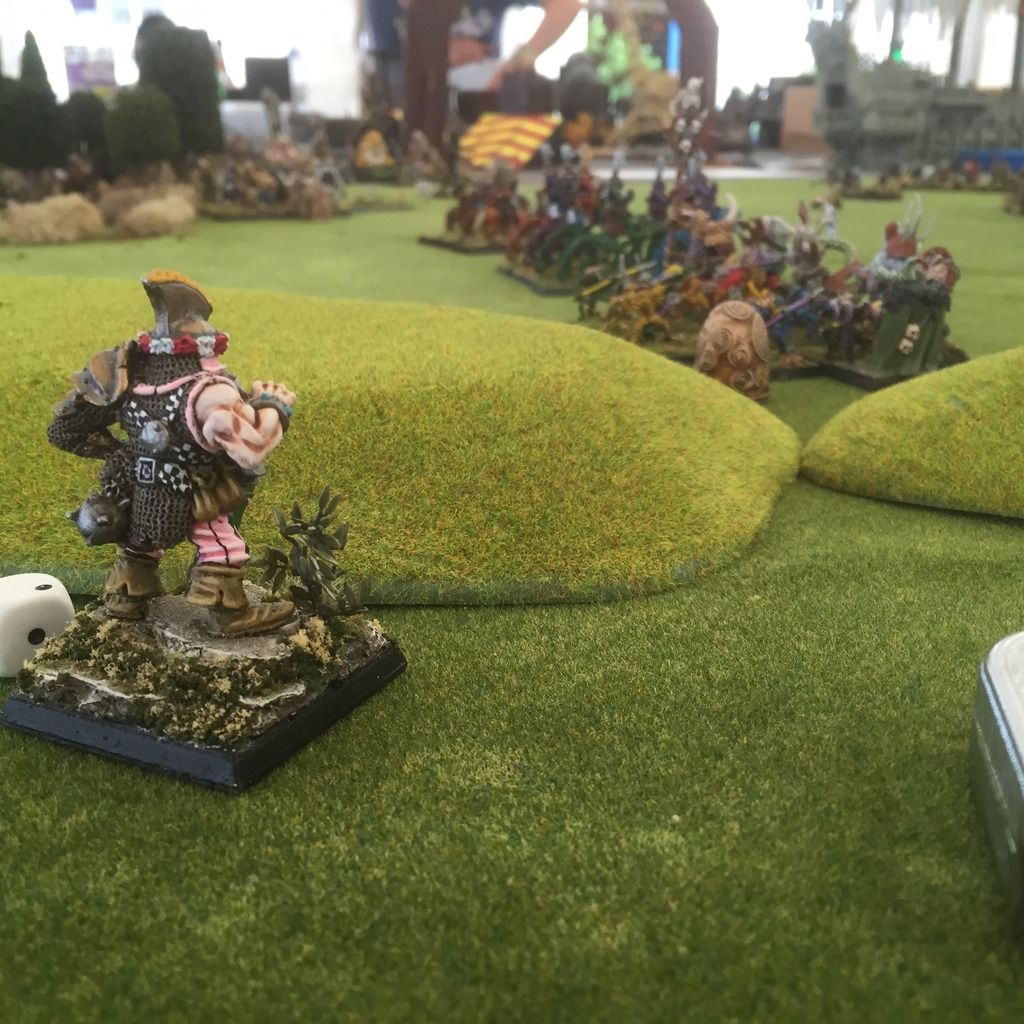
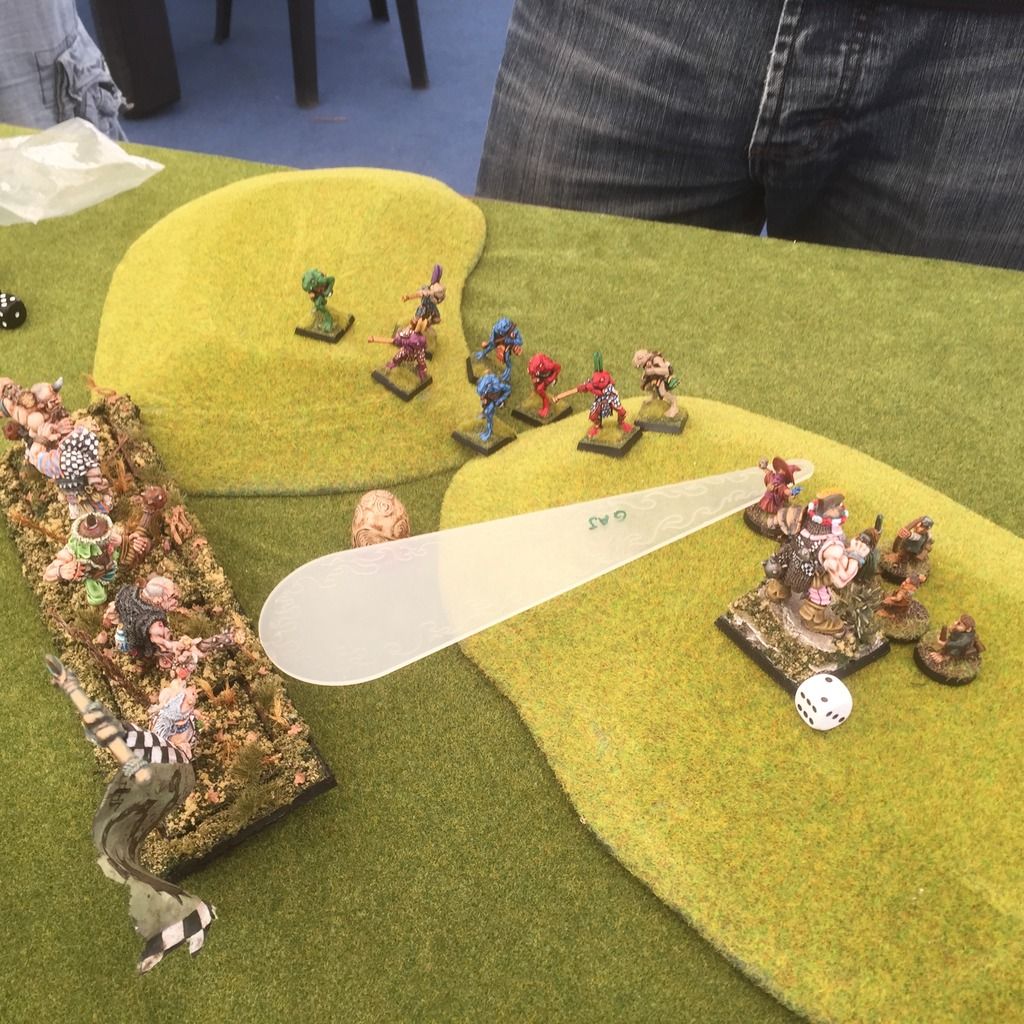
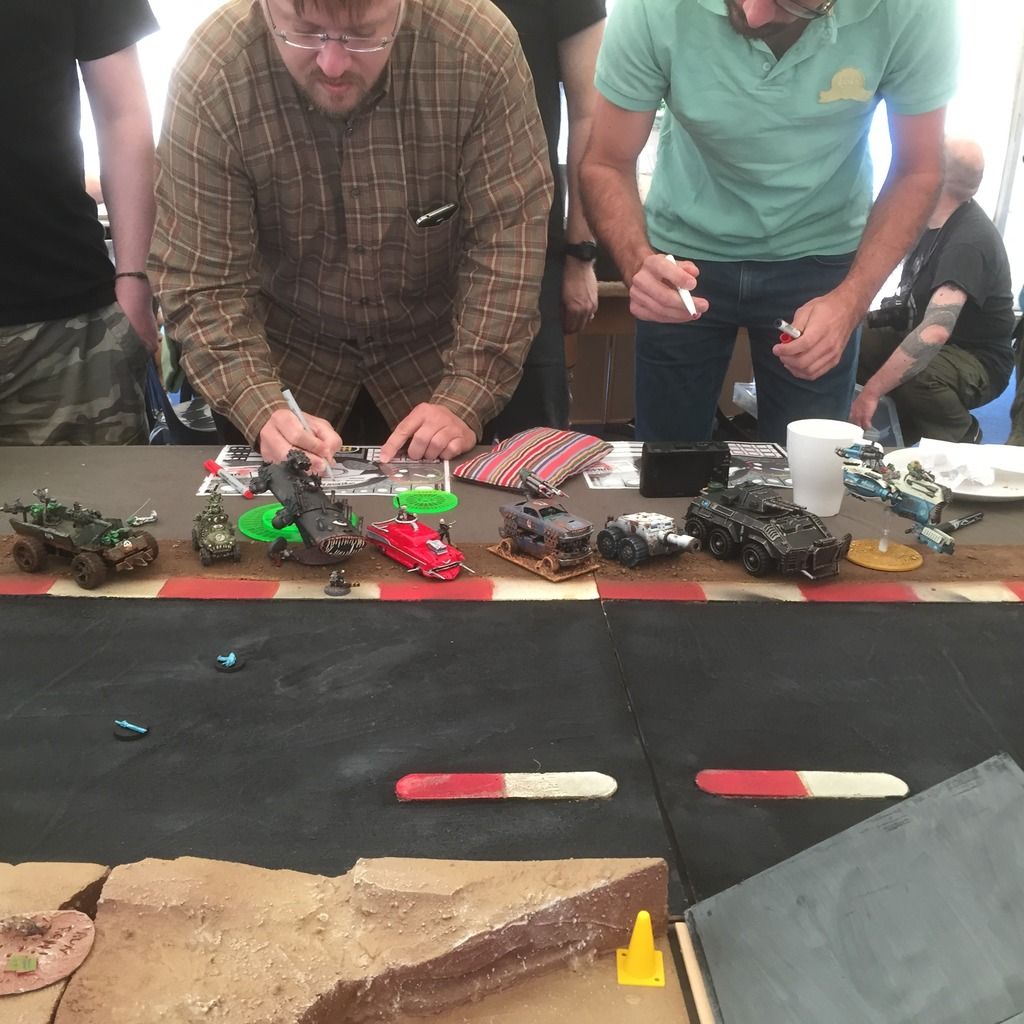
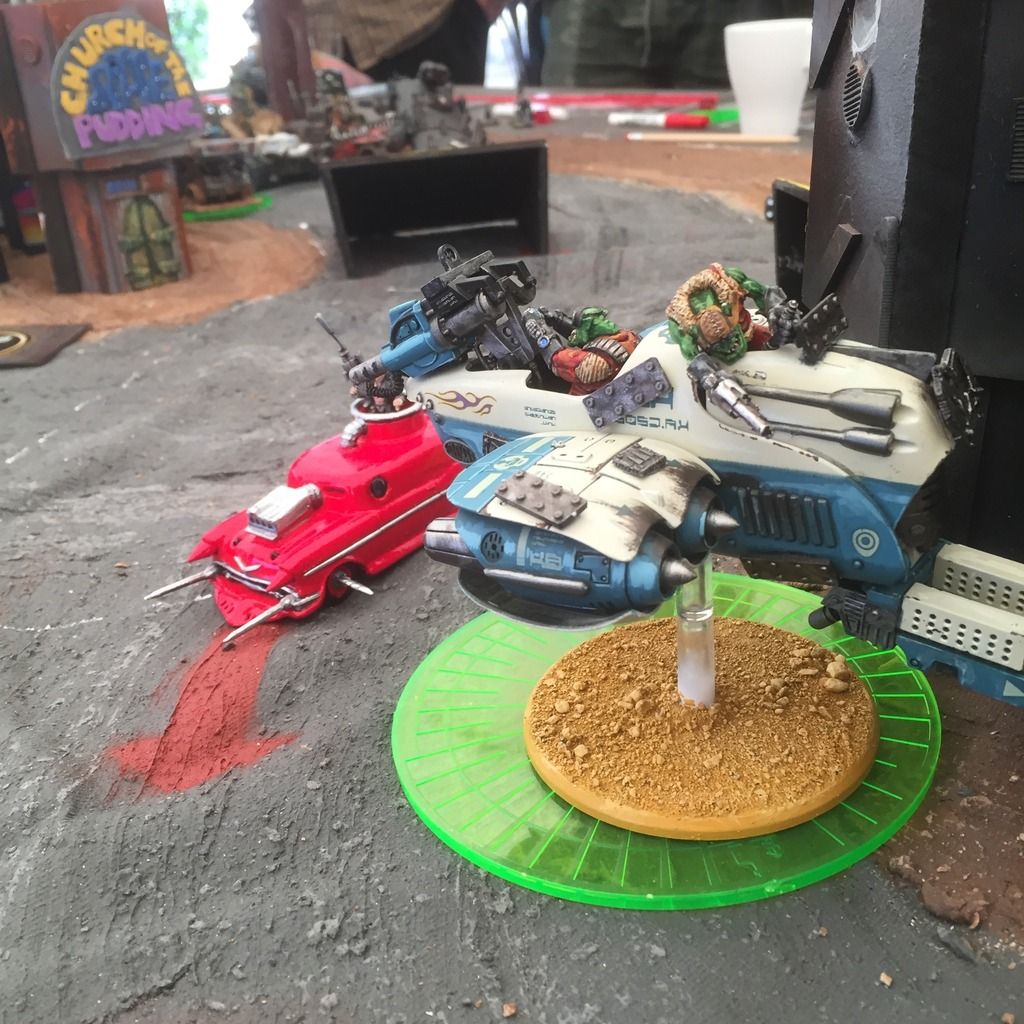
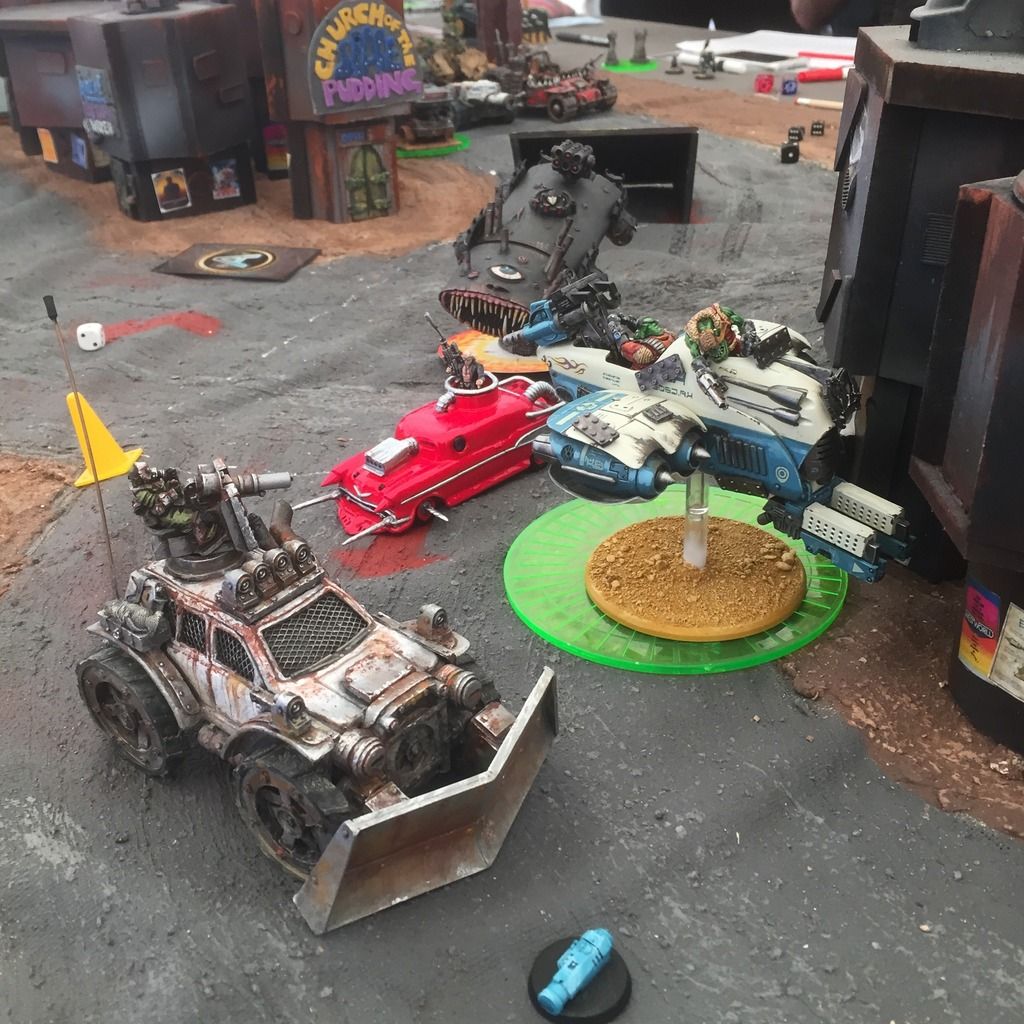
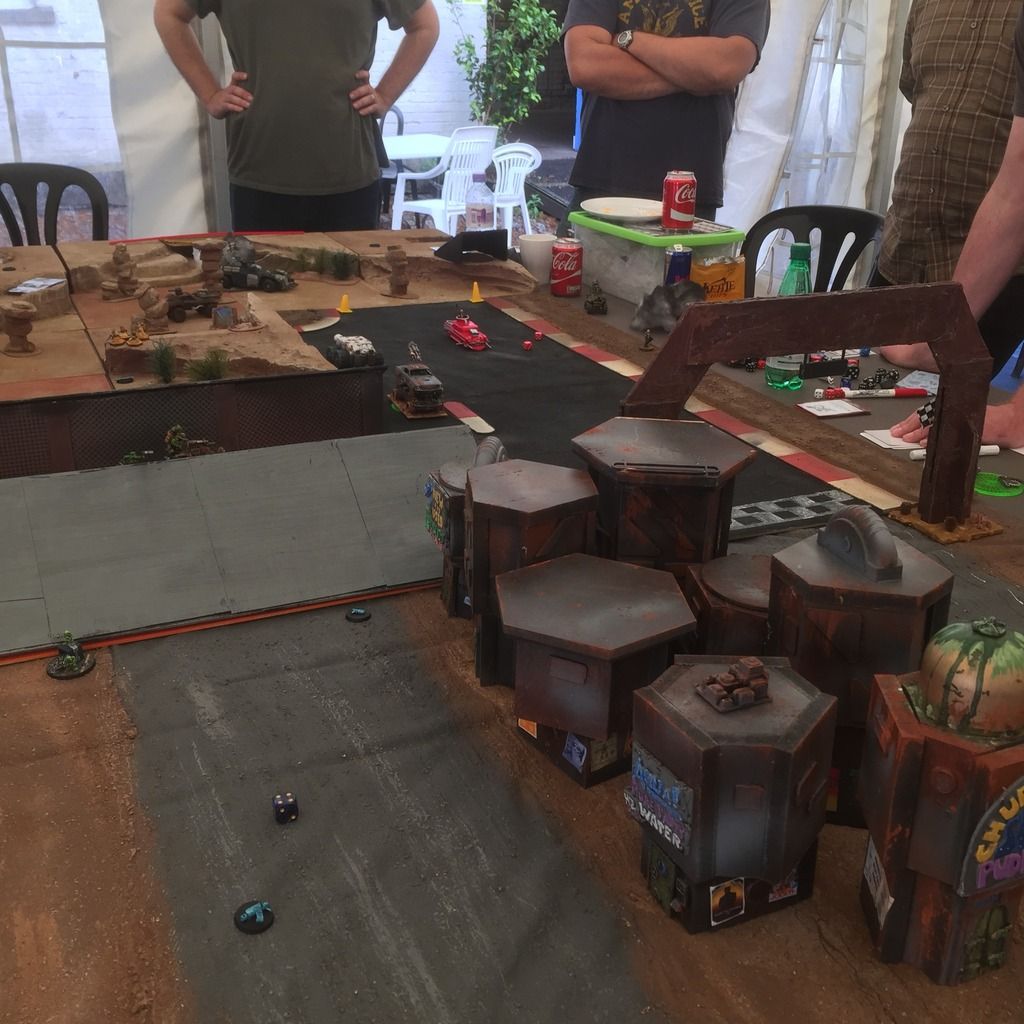
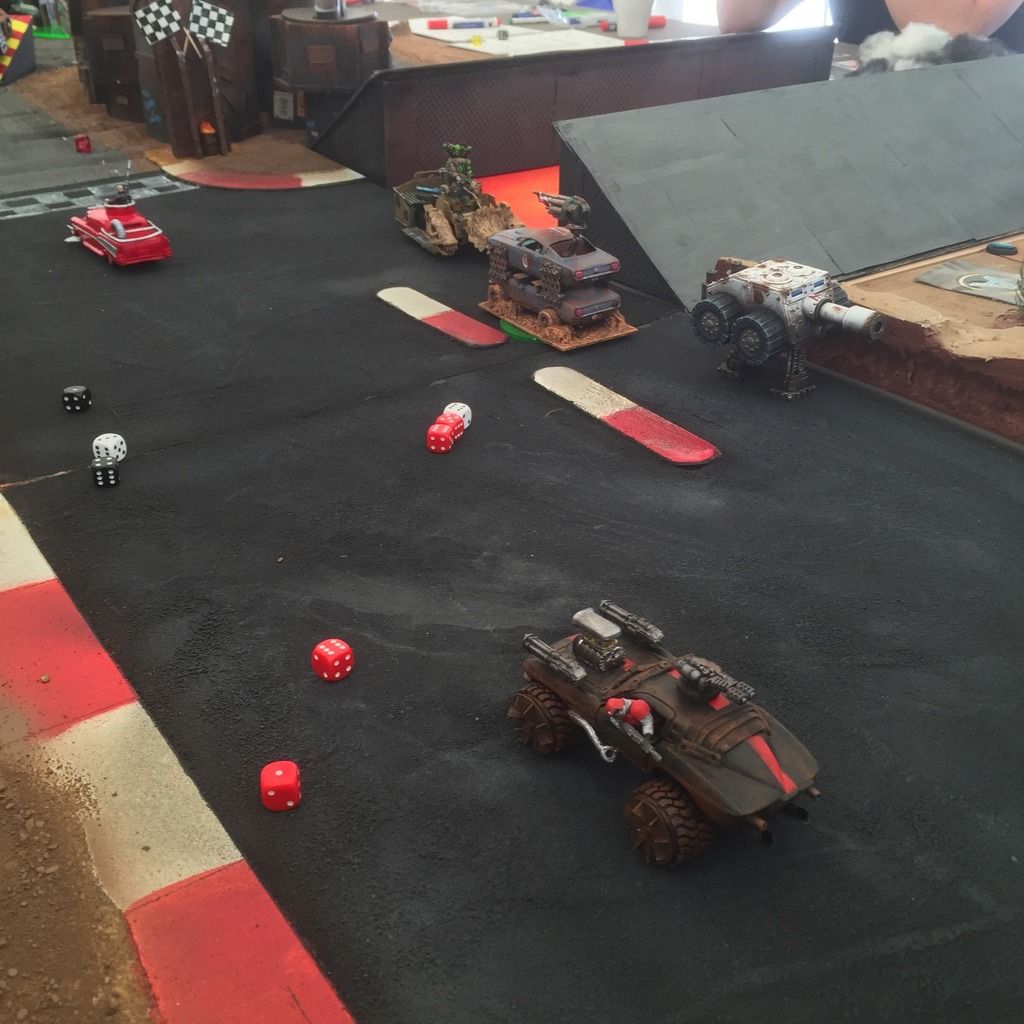
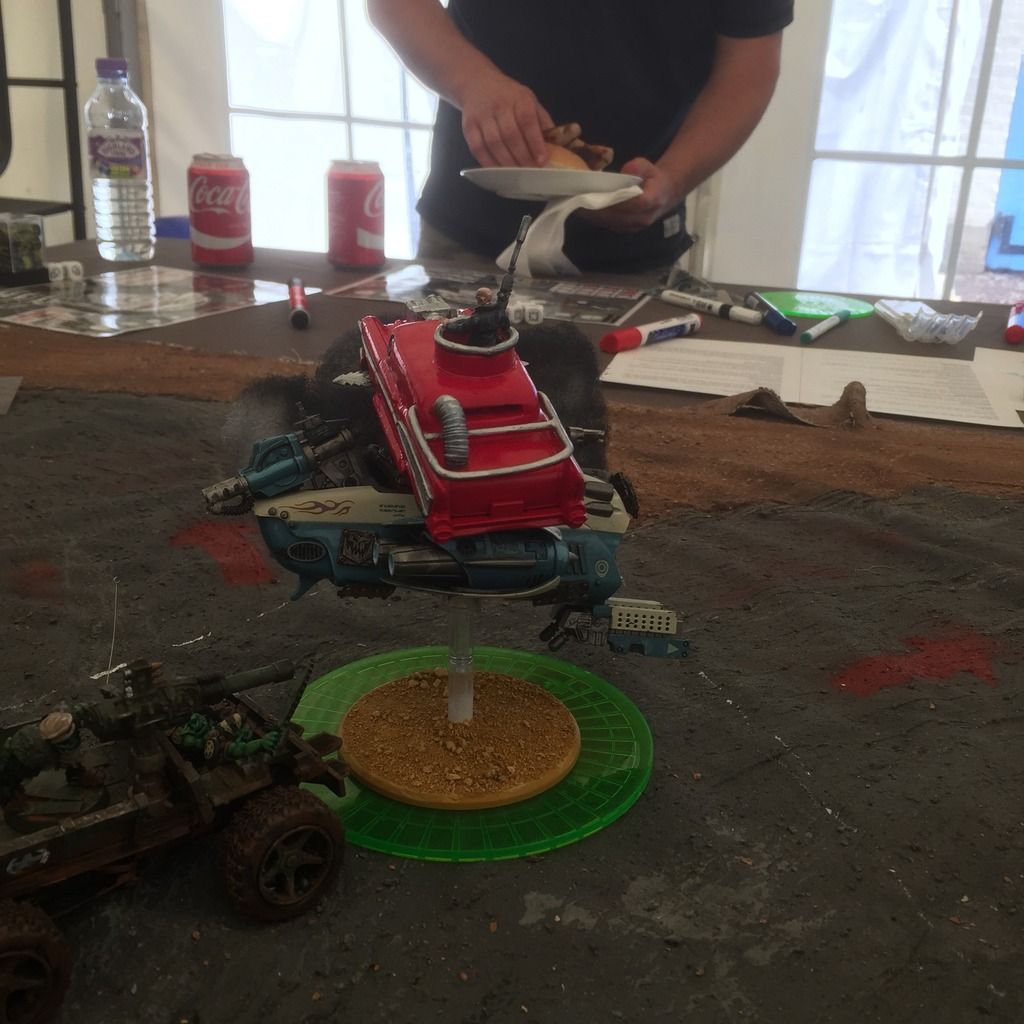
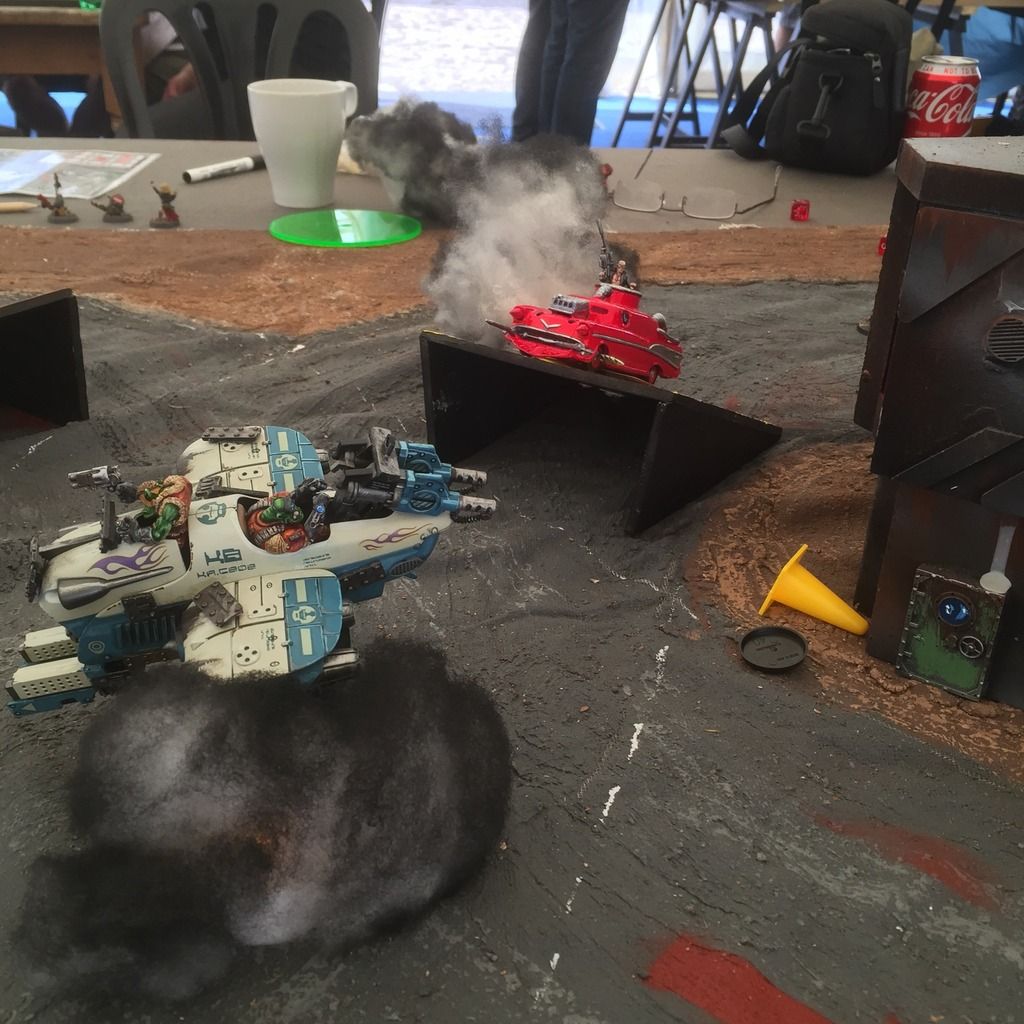
The Shadows of Rensburg, which was a great success), instead I joined in two great games organised by others, namely the Trouble with Kludo, a fantastic 3rd edition scenario and the amazing 40k Deathrace. So what shall I run next year?

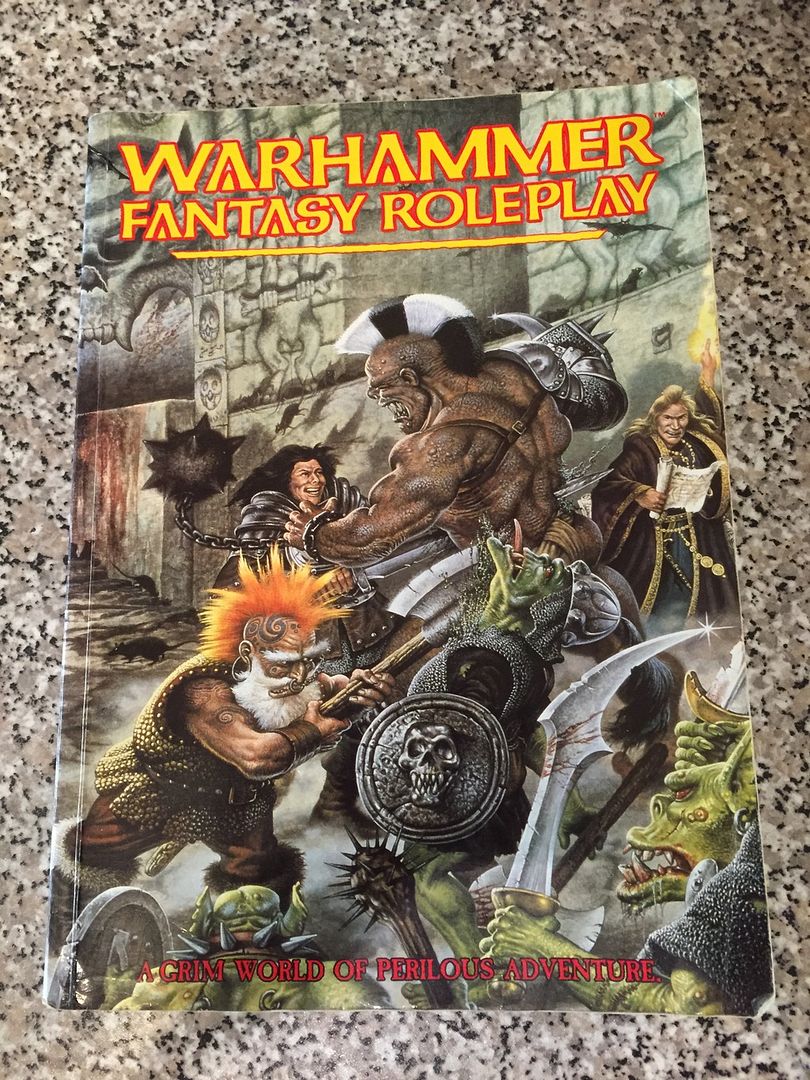
Well having an event like this really focuses my hobby planning and allows me to think up wild ideas  based upon games I've always wanted to, often from my childhood. So I'm thinking of something which I've tentatively named The Crypts of Stoke Hall (Stoke Hall being the venue, hosted by the Ansells, where Foundry is and BOYL happens). I'm thinking of combining my two favourite games; 3rd Edition WFB and Heroquest.

So the idea at the moment is that four players will start above ground with their own warbands of any race. Using The Lost and the Damned as a guide a 200 point RoC warband would allow for a champion, 4 rewards and 4 rolls on the retinue table. Other races can just choose whatever of 200 points from Warhammer Armies or straight from the rule book (I may increase this after some play testing). Each player will have a slightly different objective, depending upon their race and the what the warband consists of, but ultimately they are seeking treasure from the underground crypts of Stoke Hall and I as GM will be controlling creatures to stop them,  in a narrative format. There will be 4 different entry points (trapdoors etc) but all above ground happenings will be using a skirmish format of 3rd Edition. When warbands find their point of entry to the underground the rule set will switch to an adapted Heroquest format which combines 3rd edition stat lines for the adventurers and the dungeon creatures (some clever GMing will be be needed here as only some of the warband will be allowed to enter - I have some ideas and will keep these to myself for now).

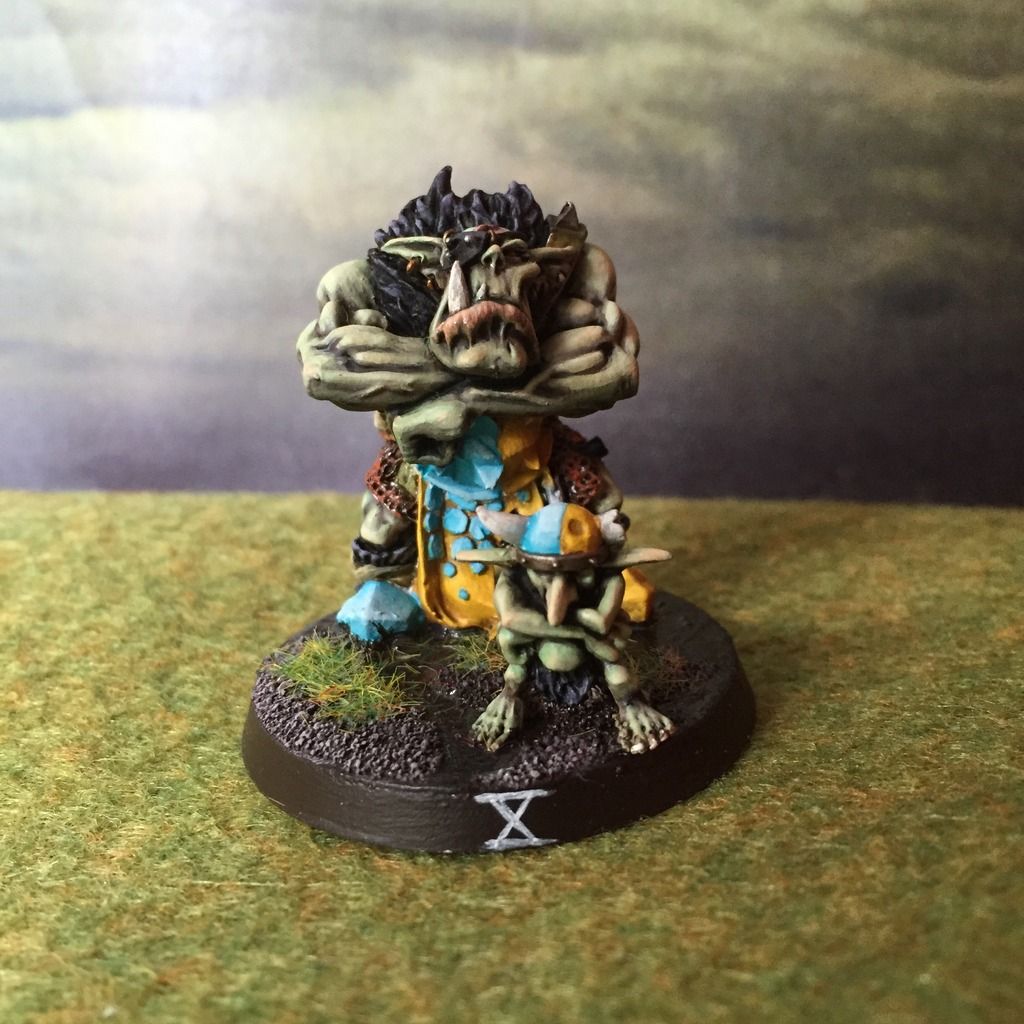
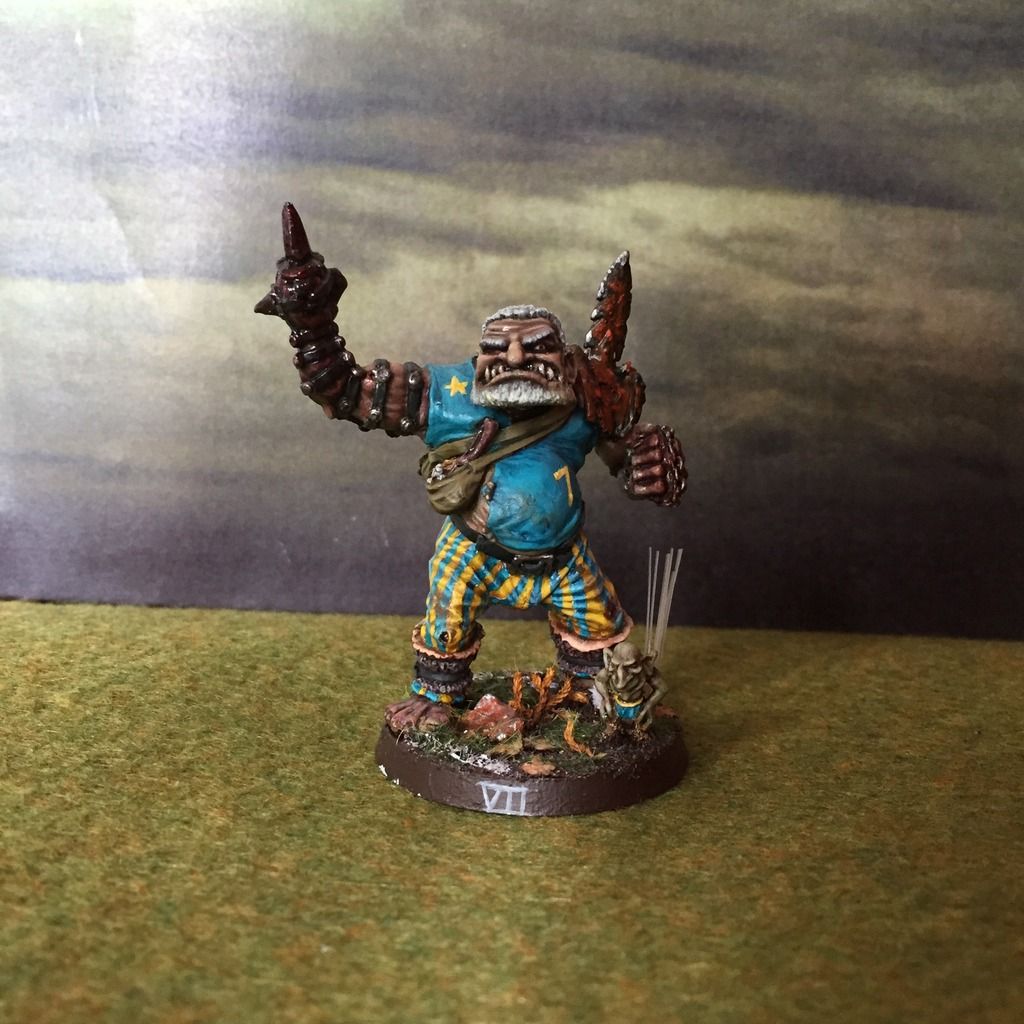
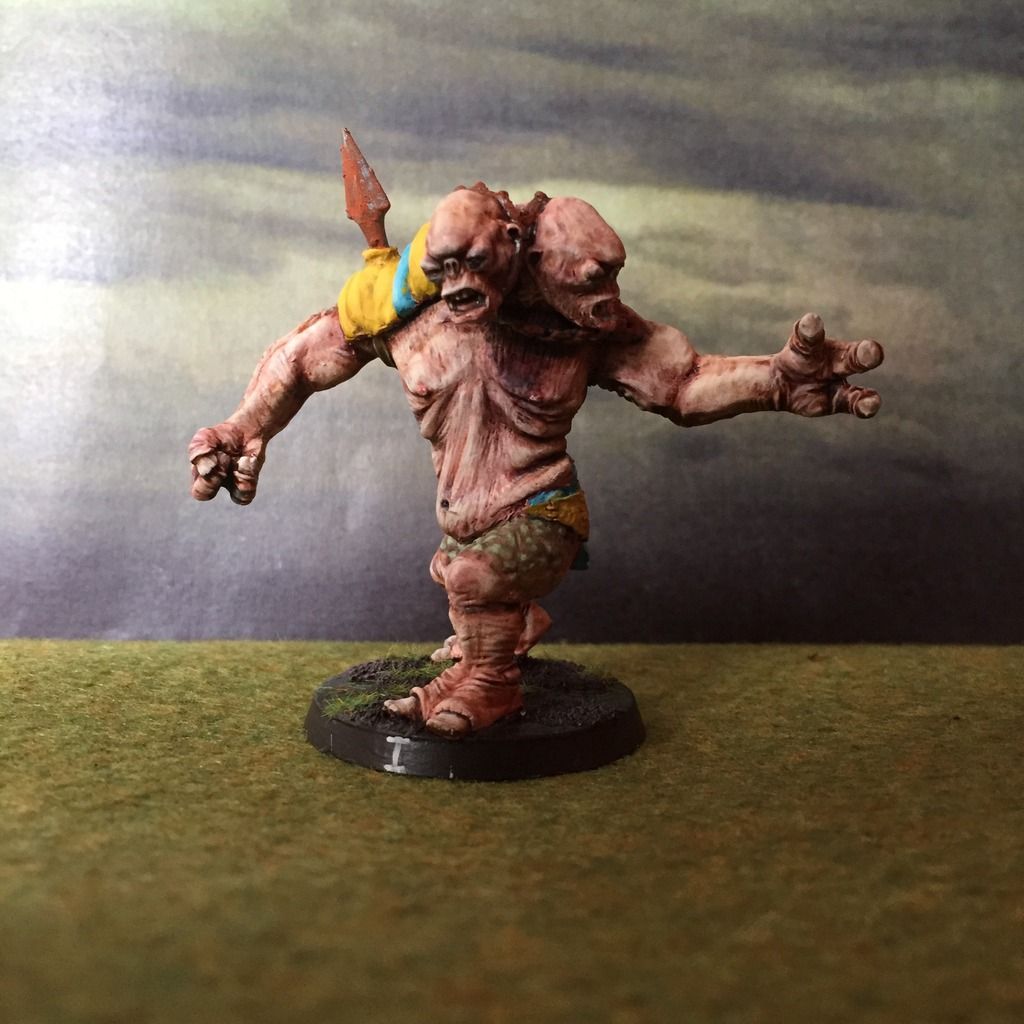
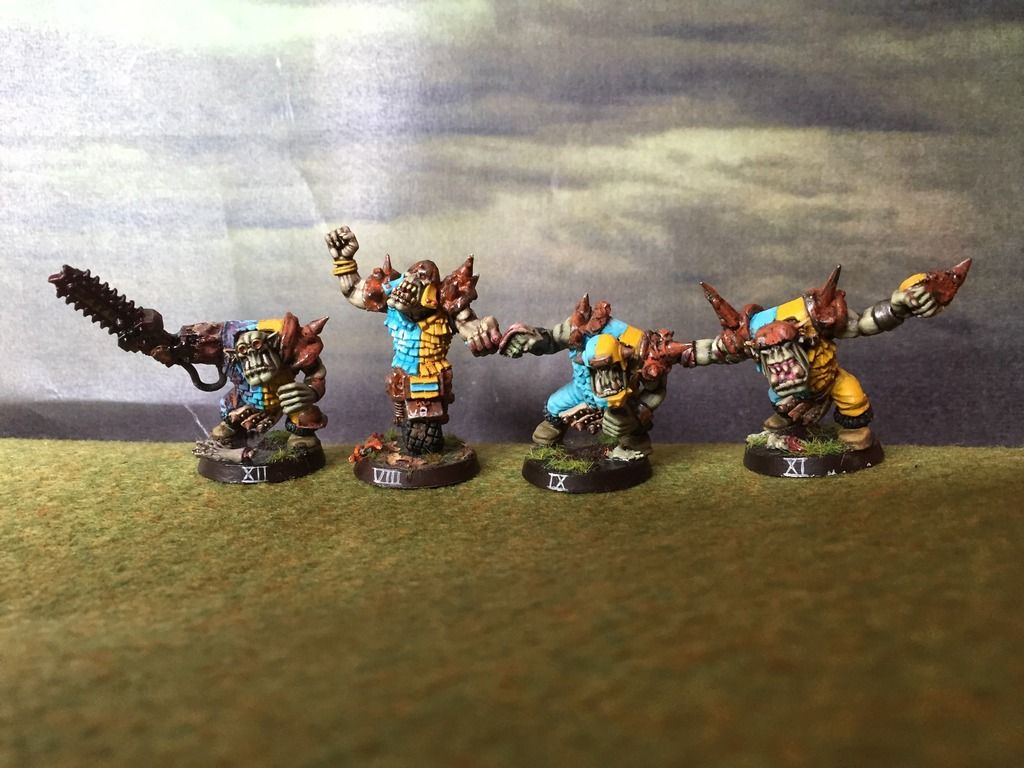
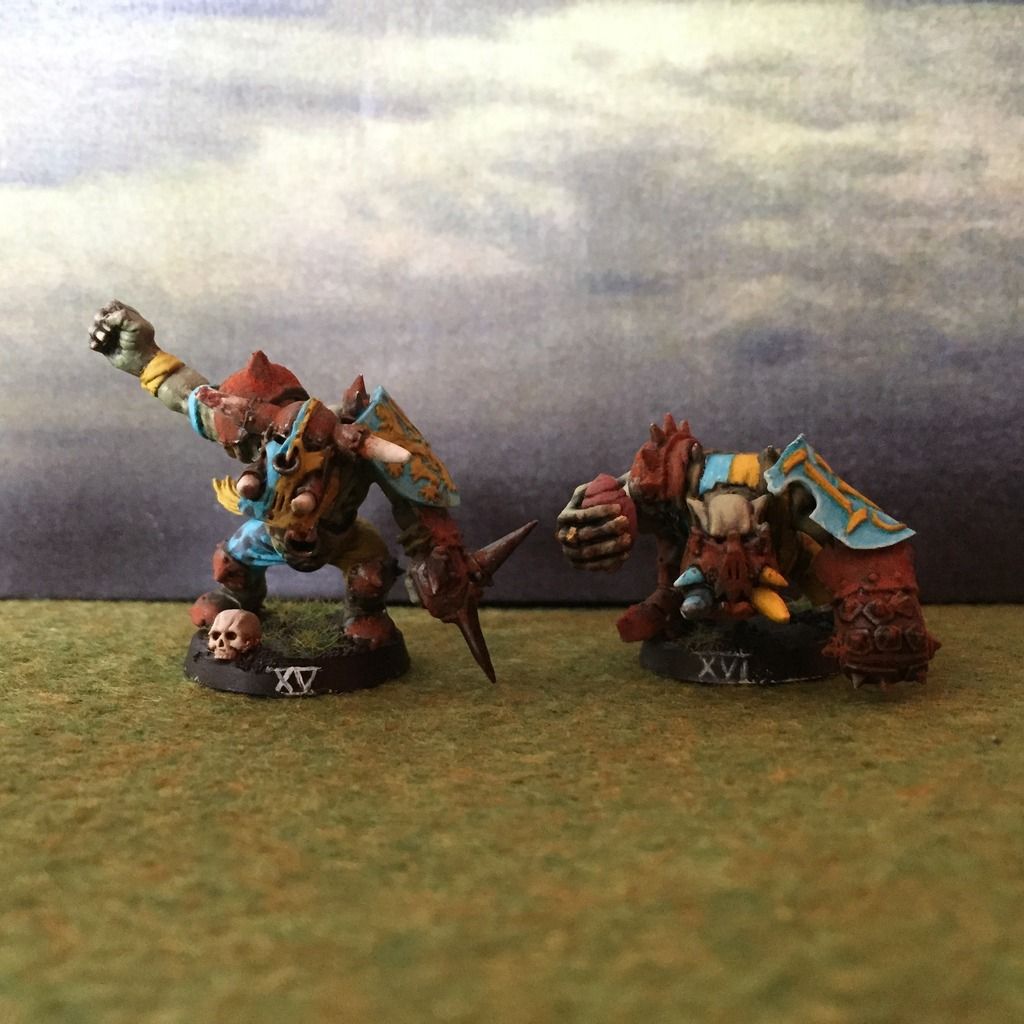
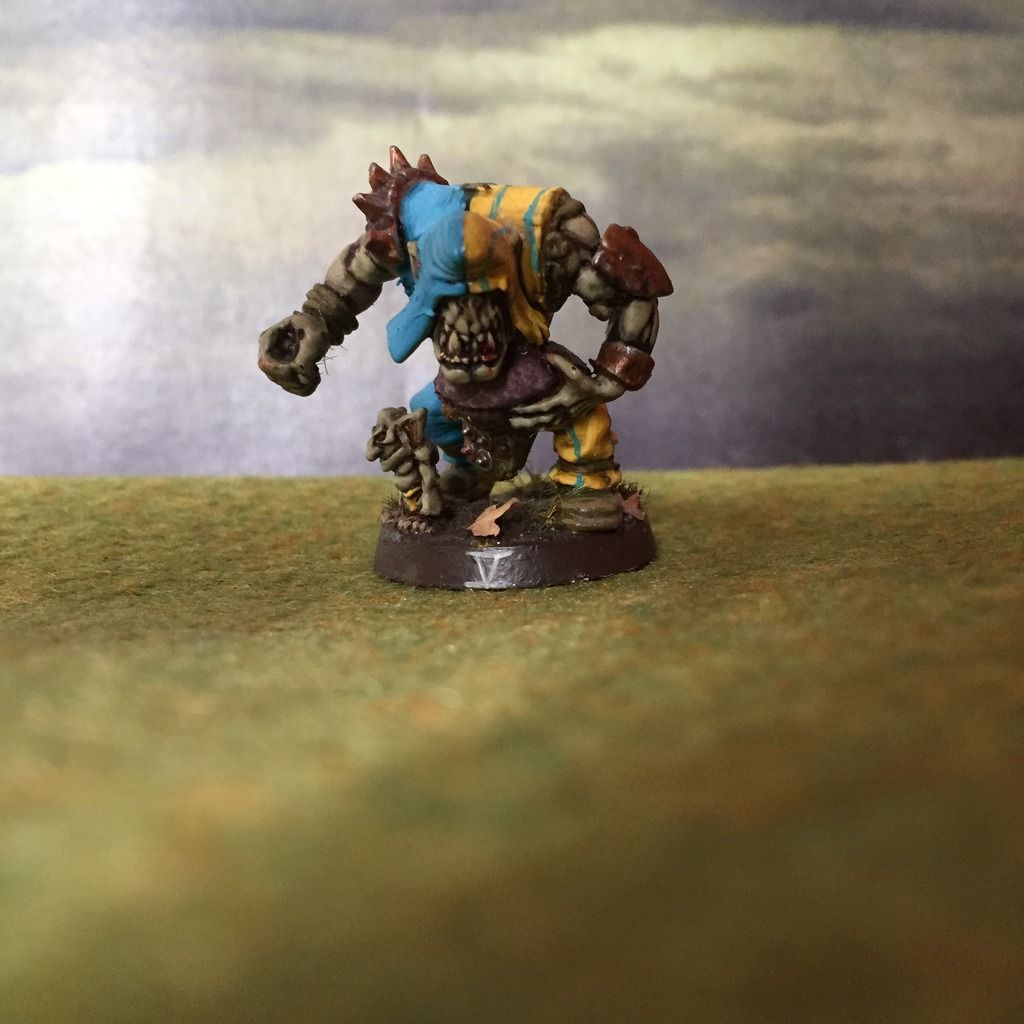
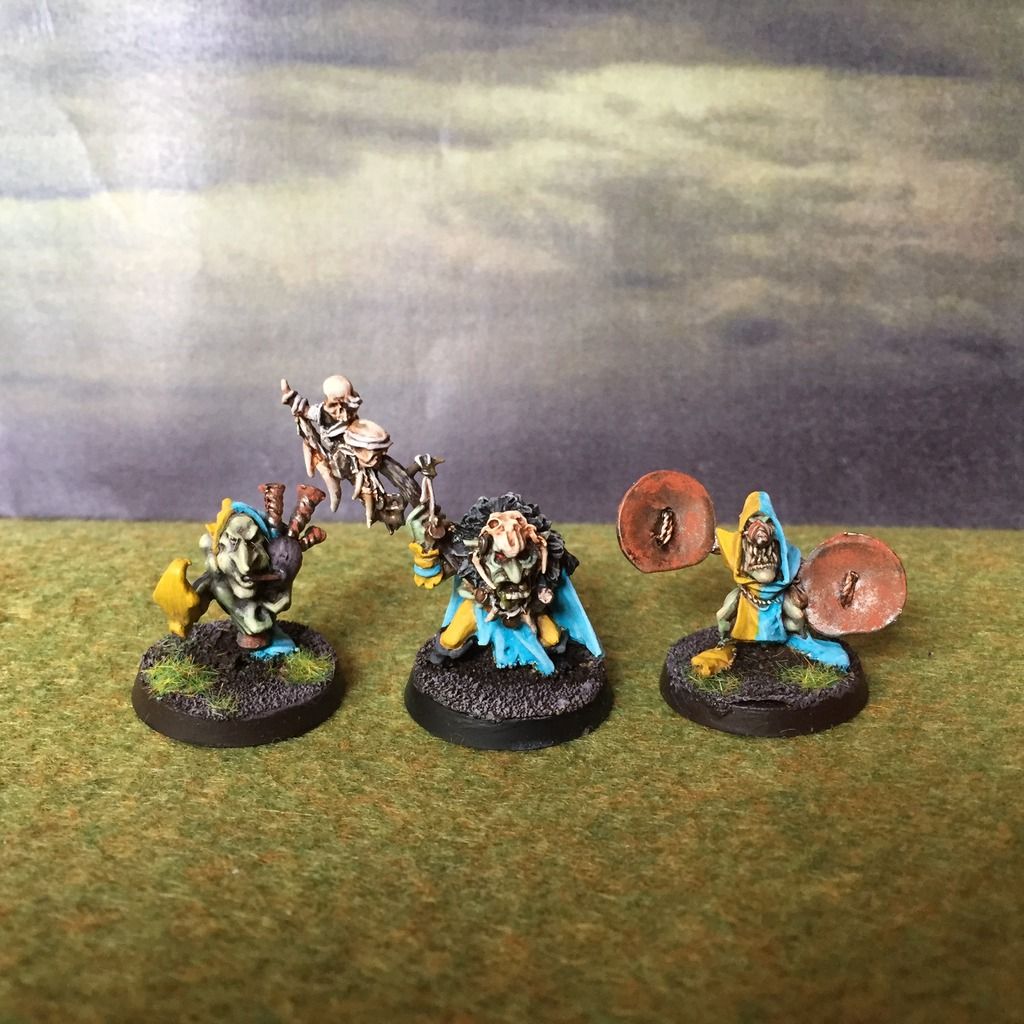
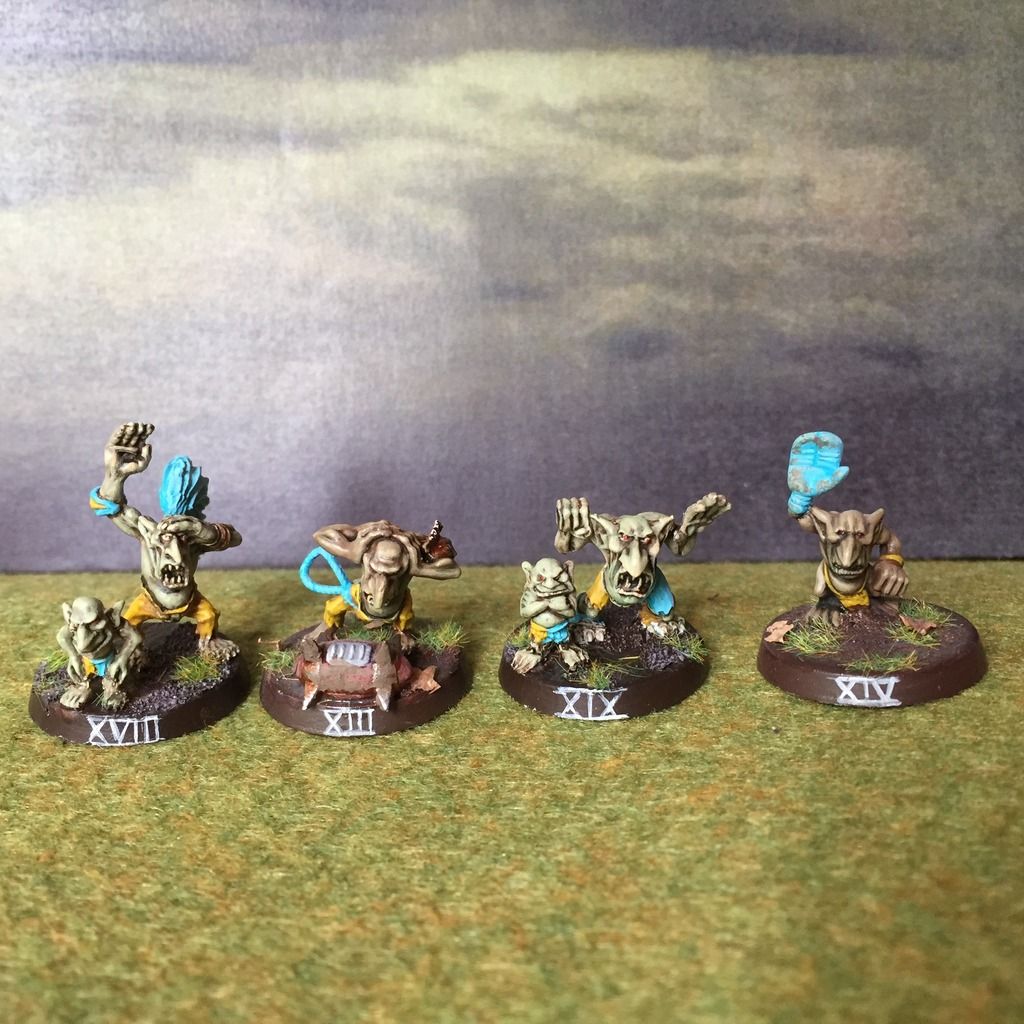
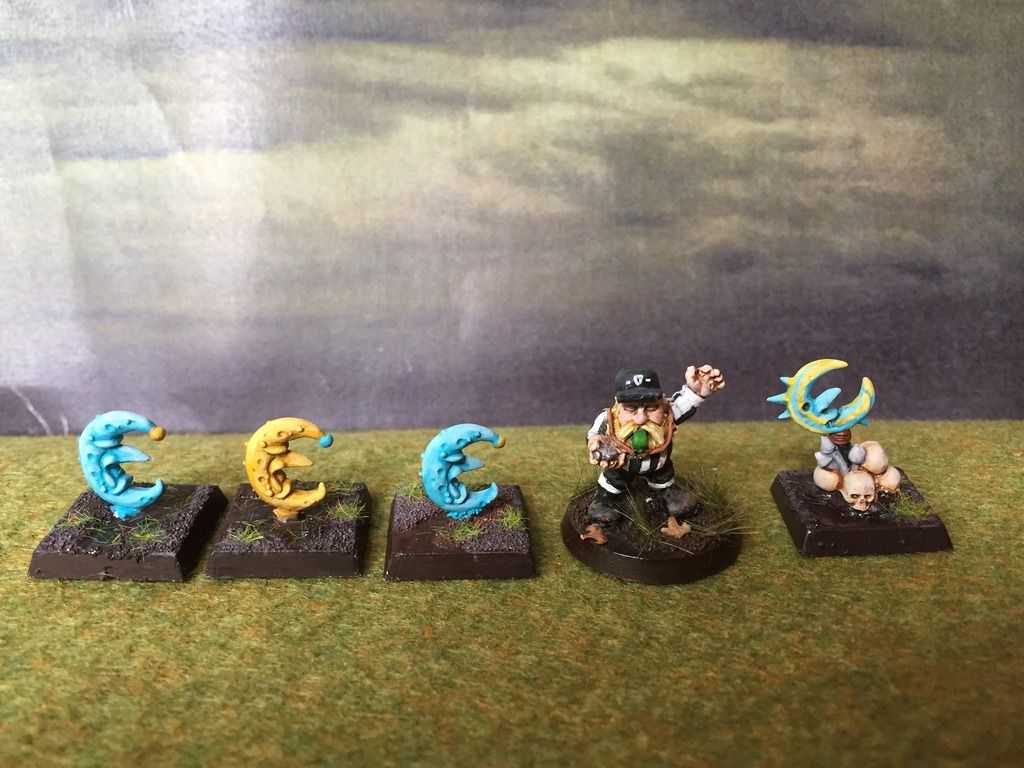
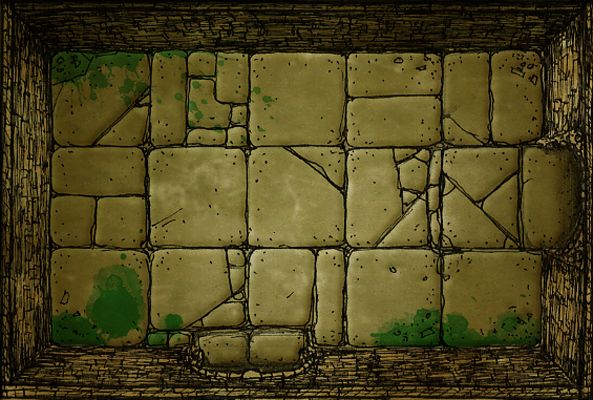
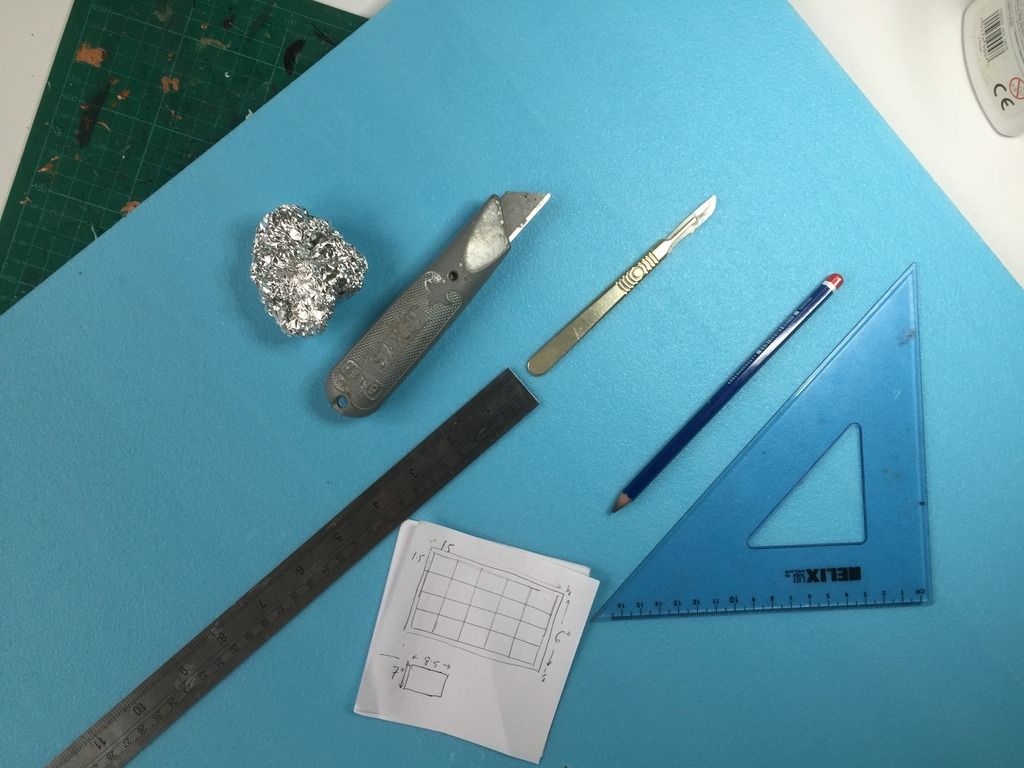
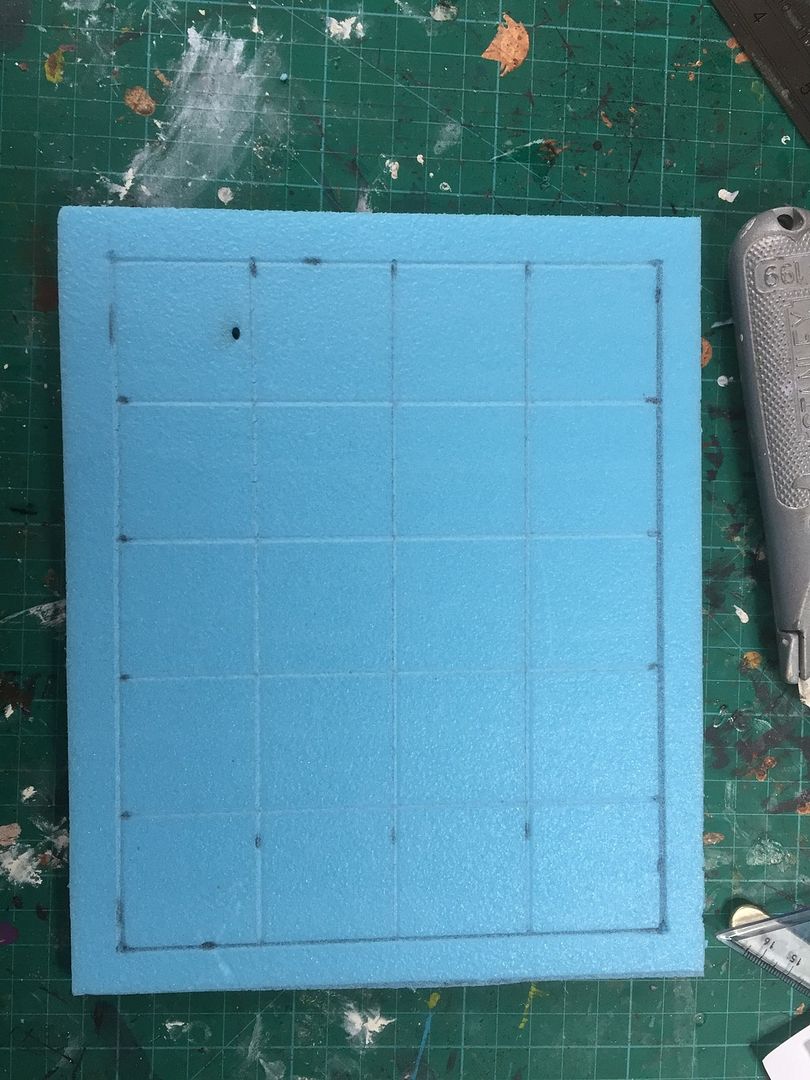
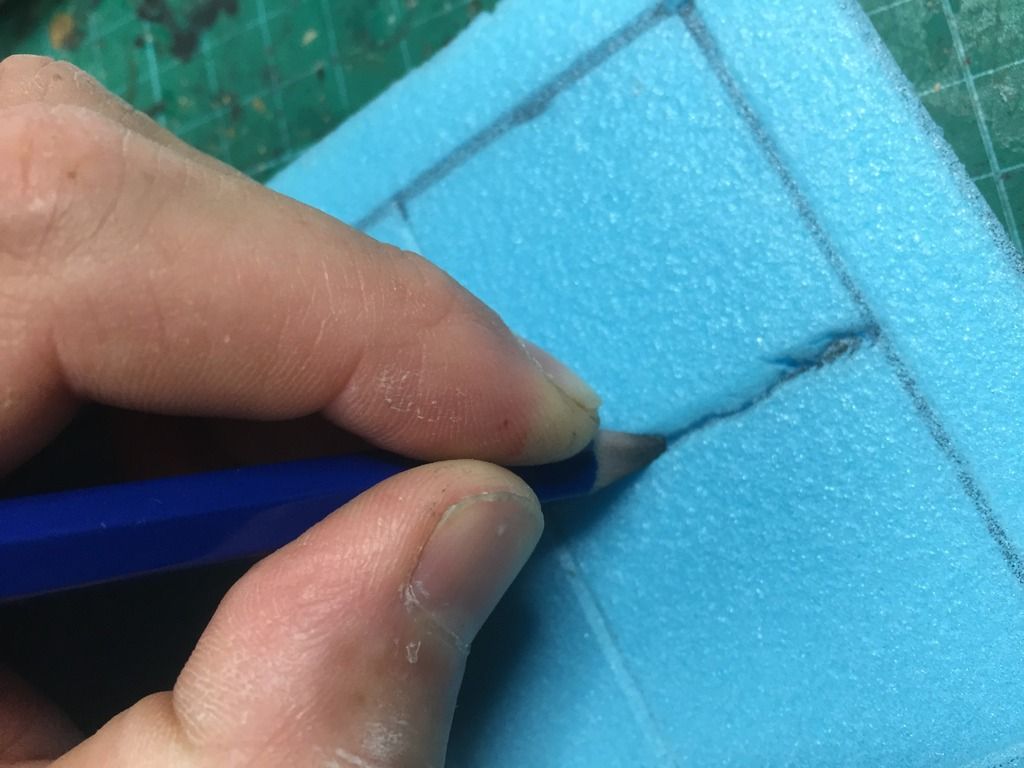
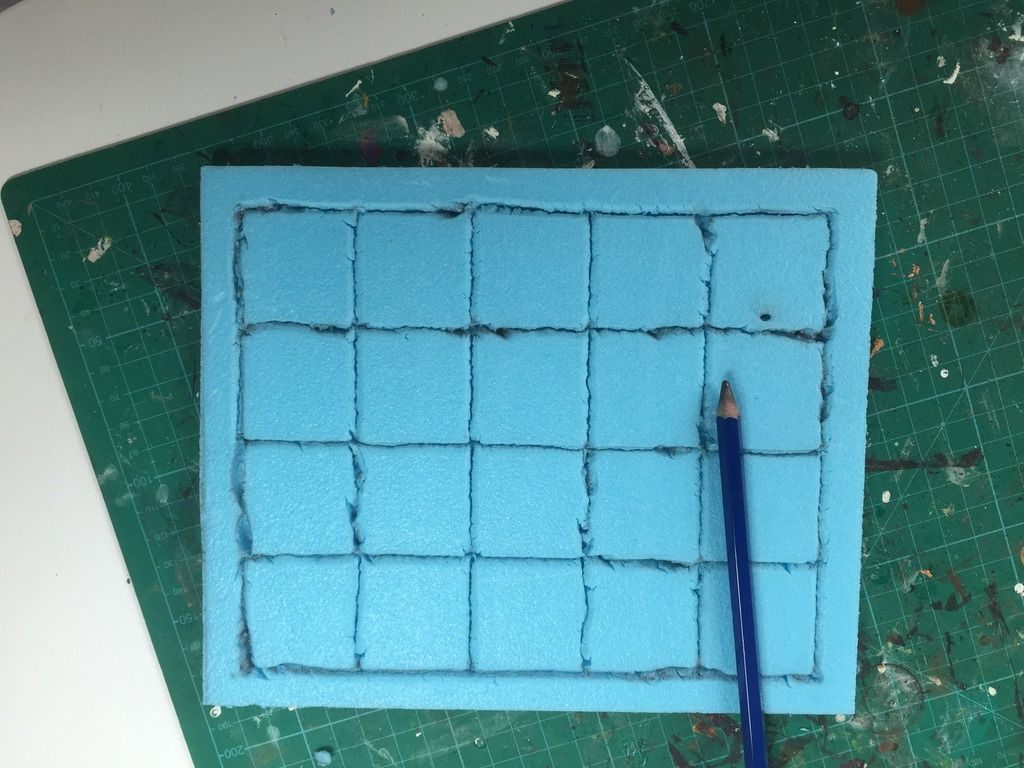
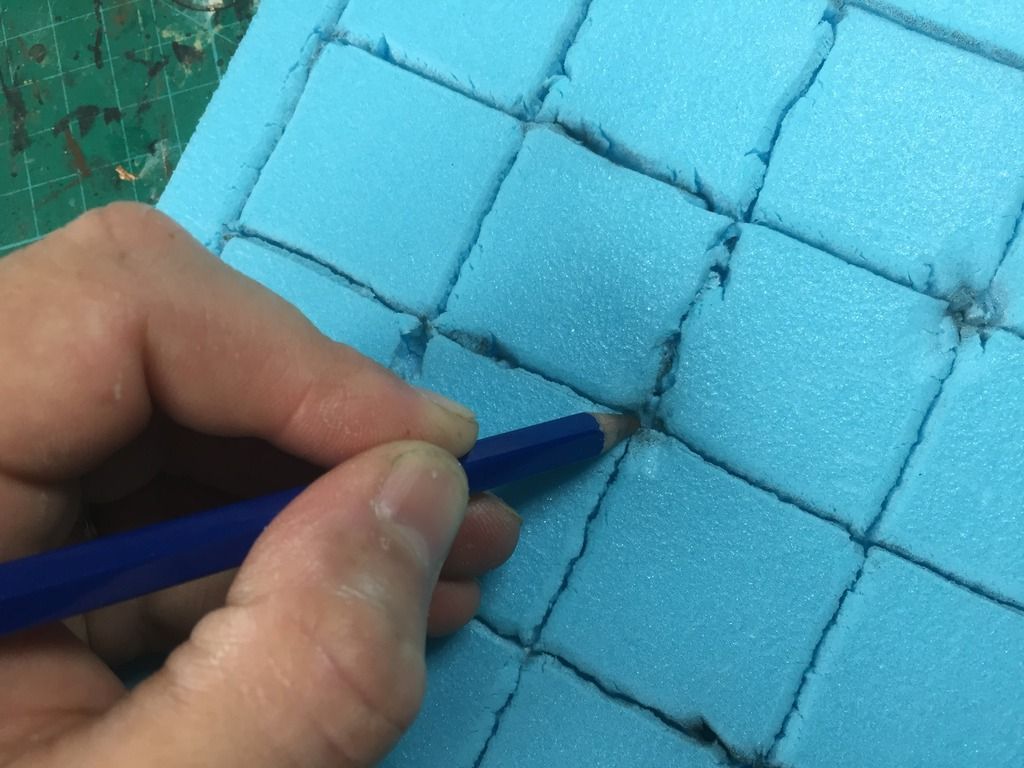
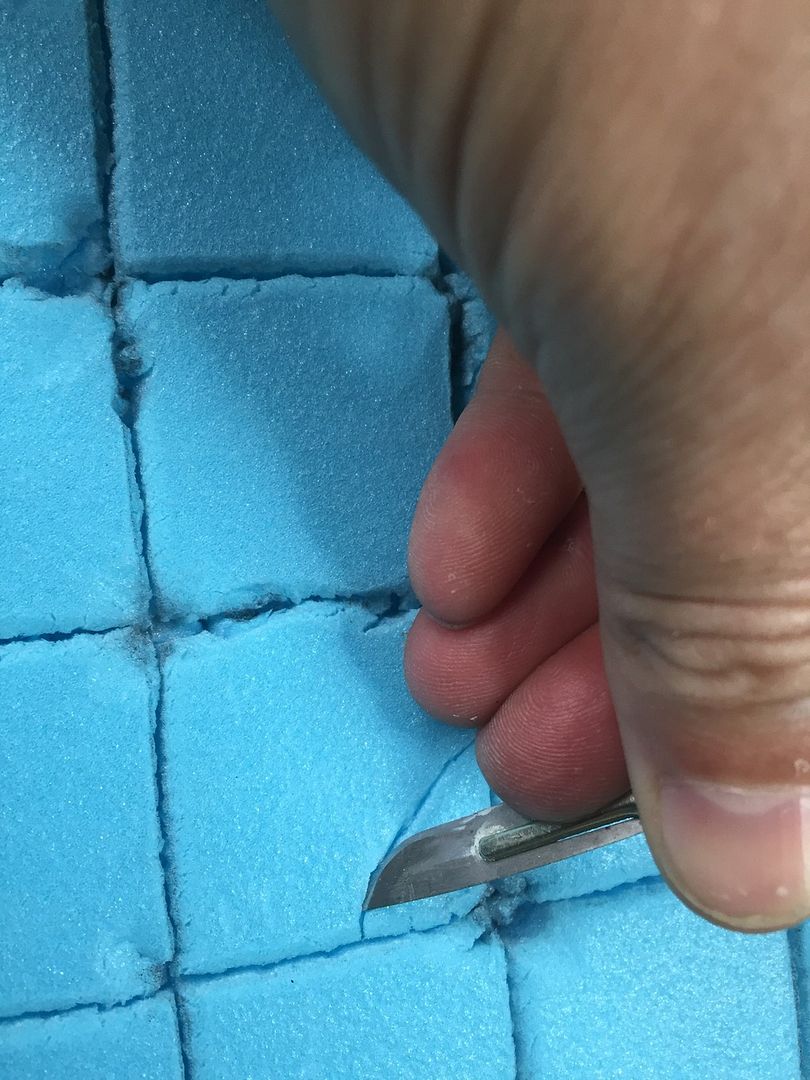
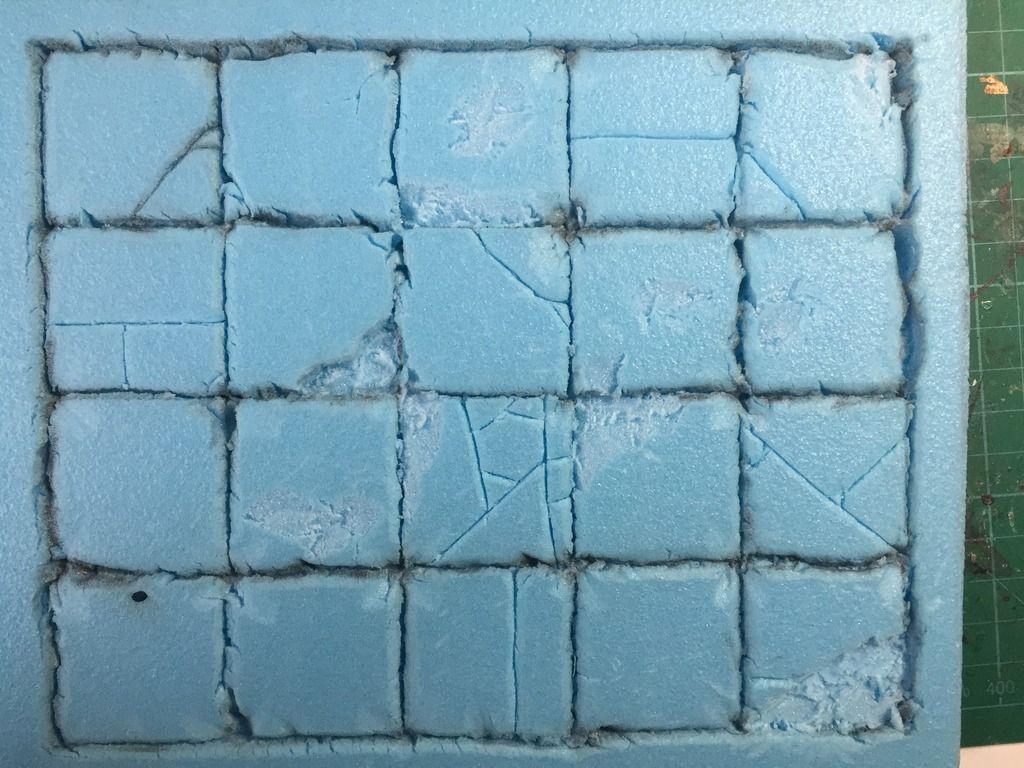
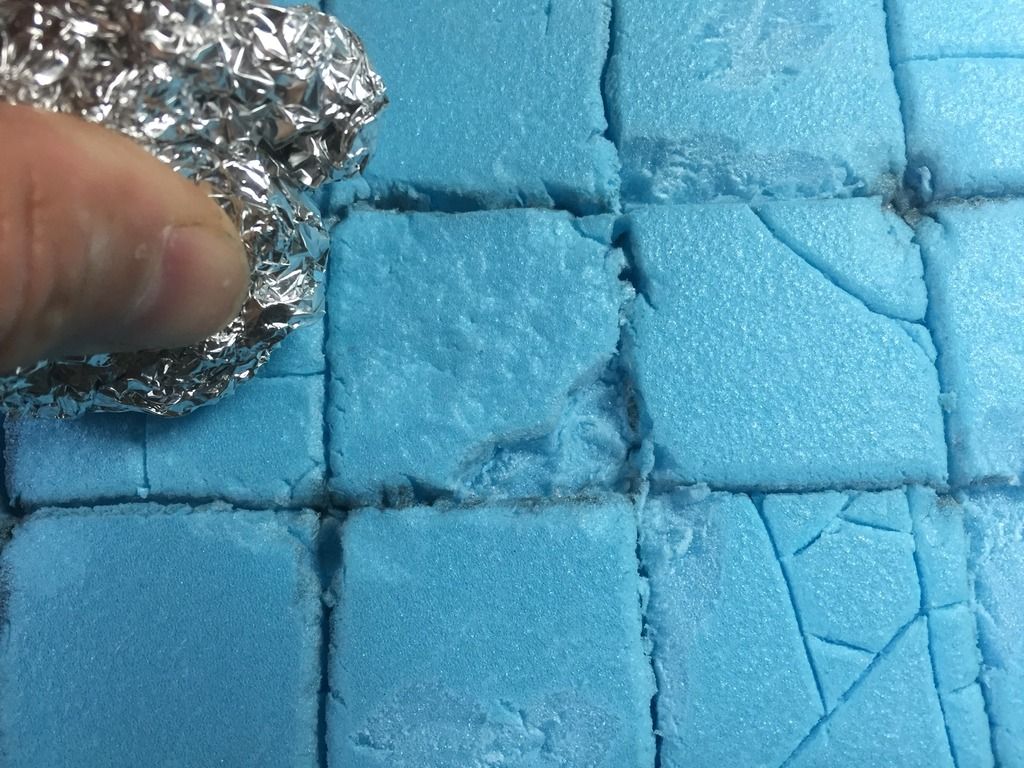
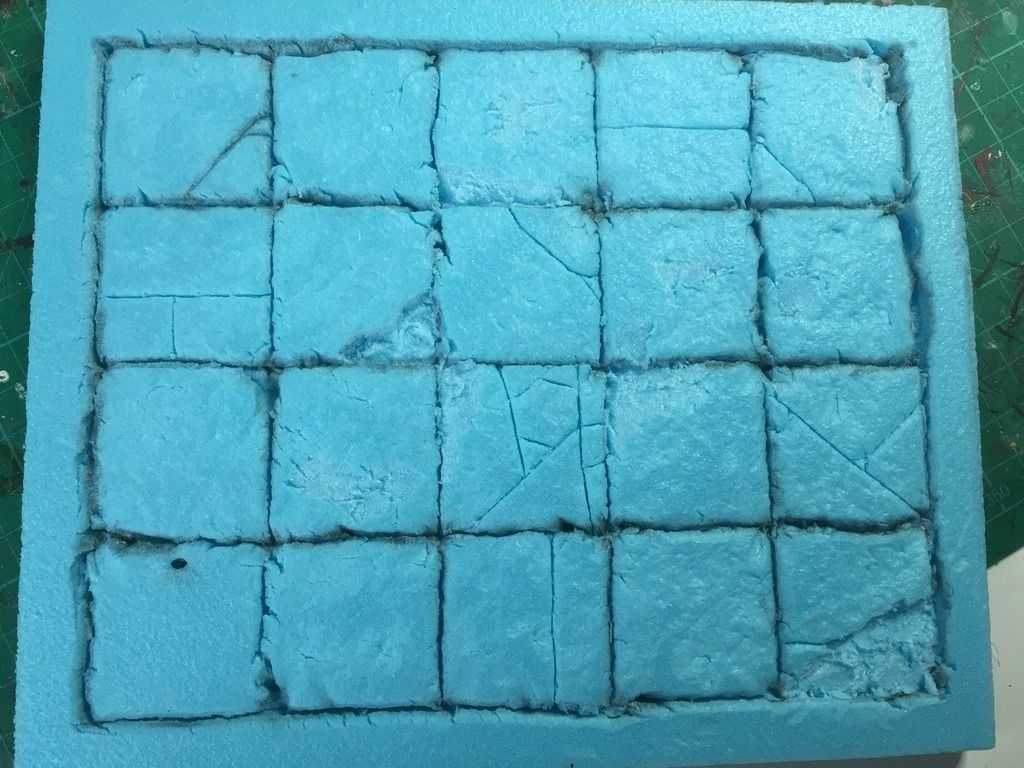
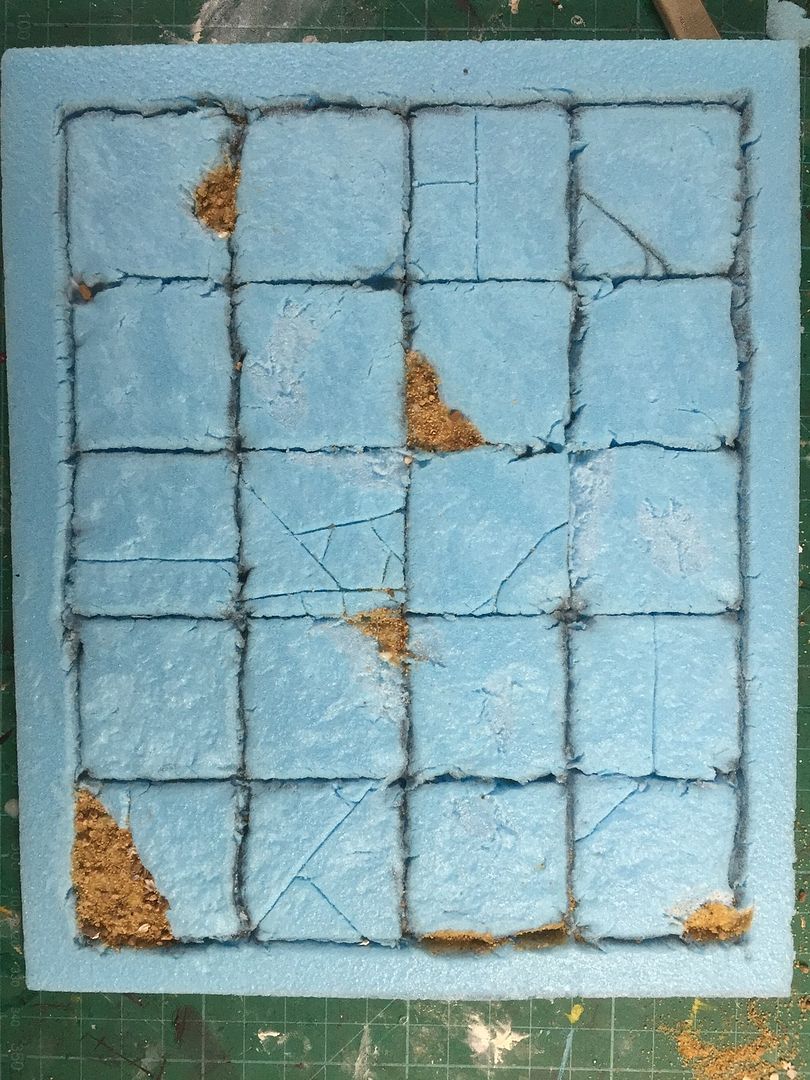
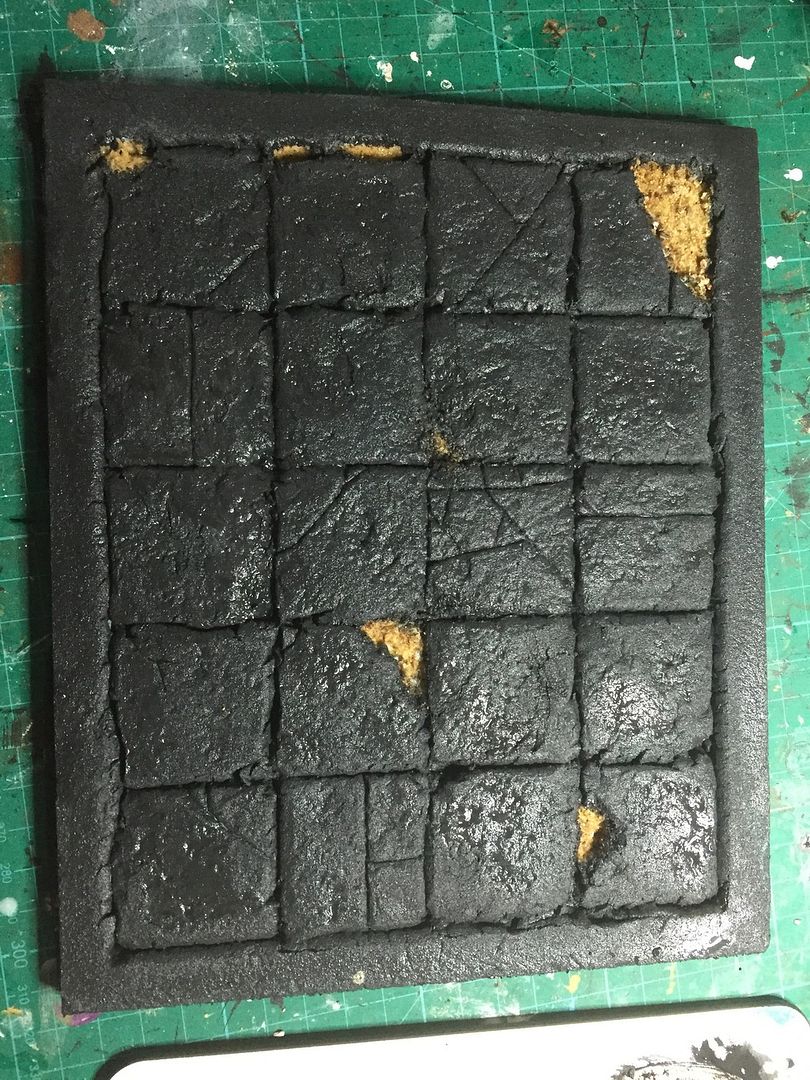
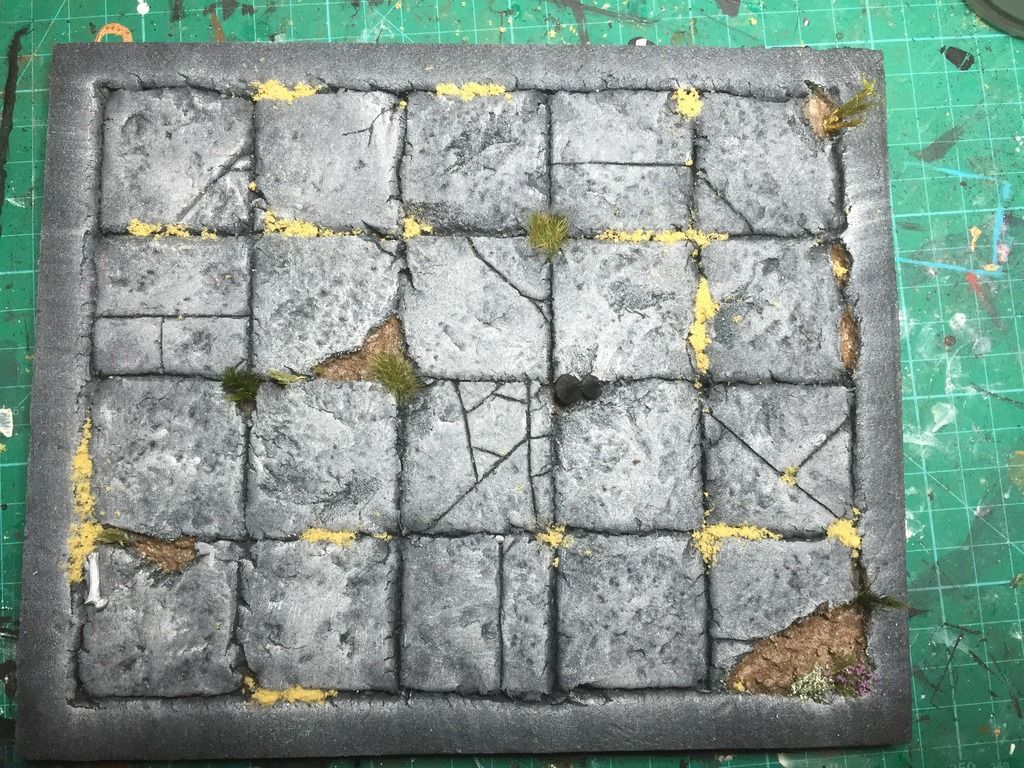
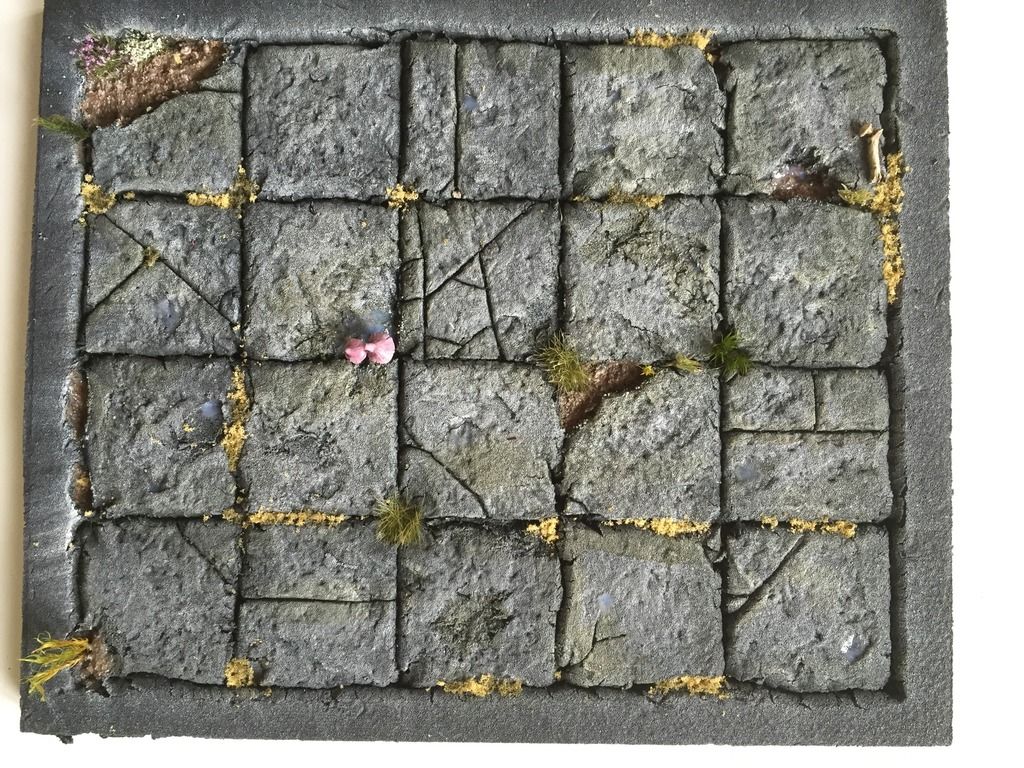
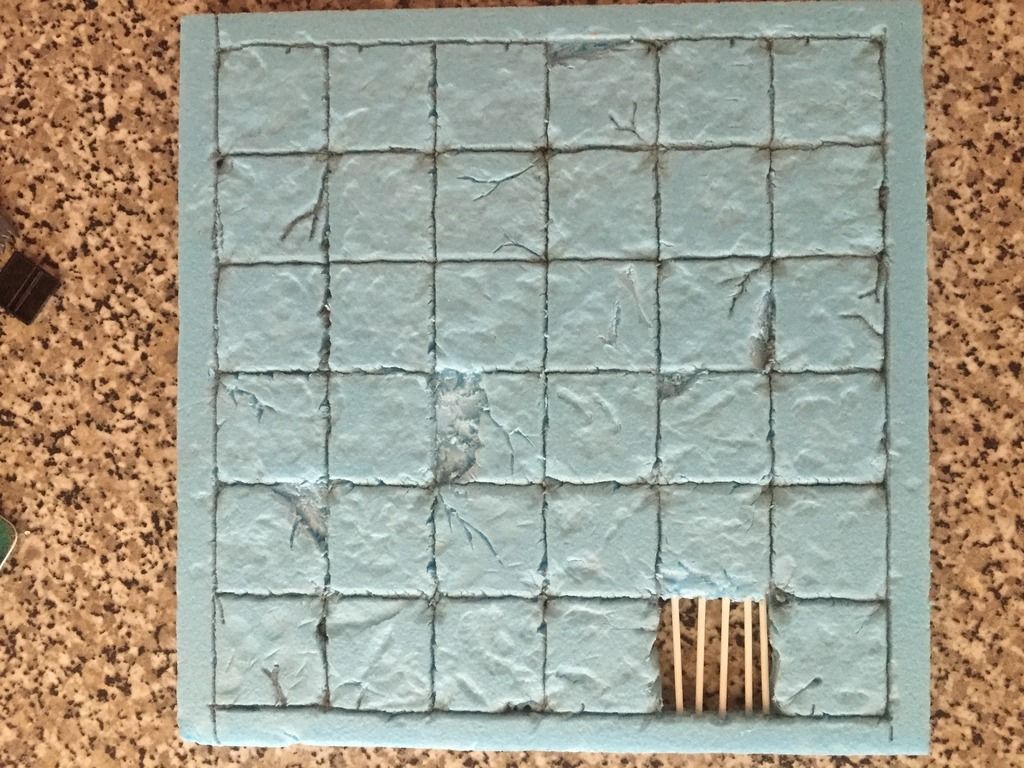
So that's an outline. That provides me with a framework to plan the game, but more importantly to collect and paint the appropriate miniatures and scenery! I've already decided that the underground baddies  will be a host of undead (plus others) with some appropriate npc's based on 80's GW , (ie Kev Adam's gobbos) with some Ansell references too. And last night I started making my first dungeon tile from extruded polystyrene:


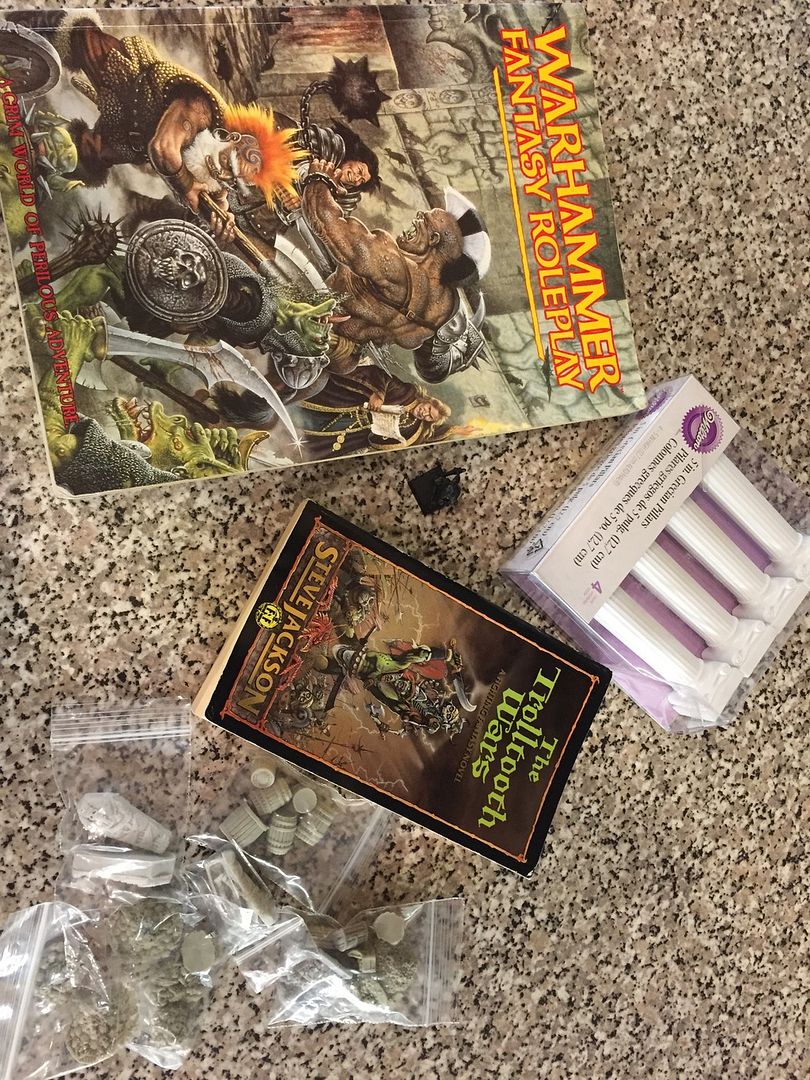
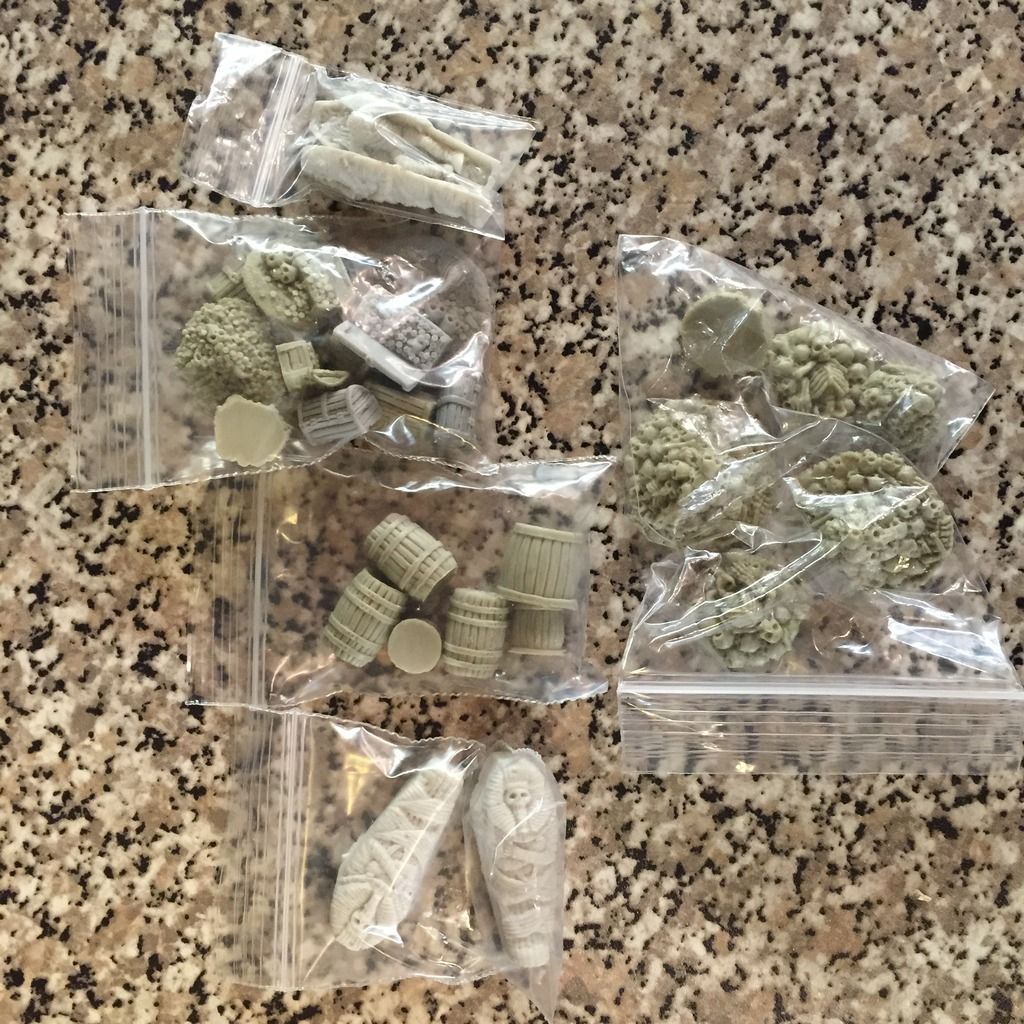
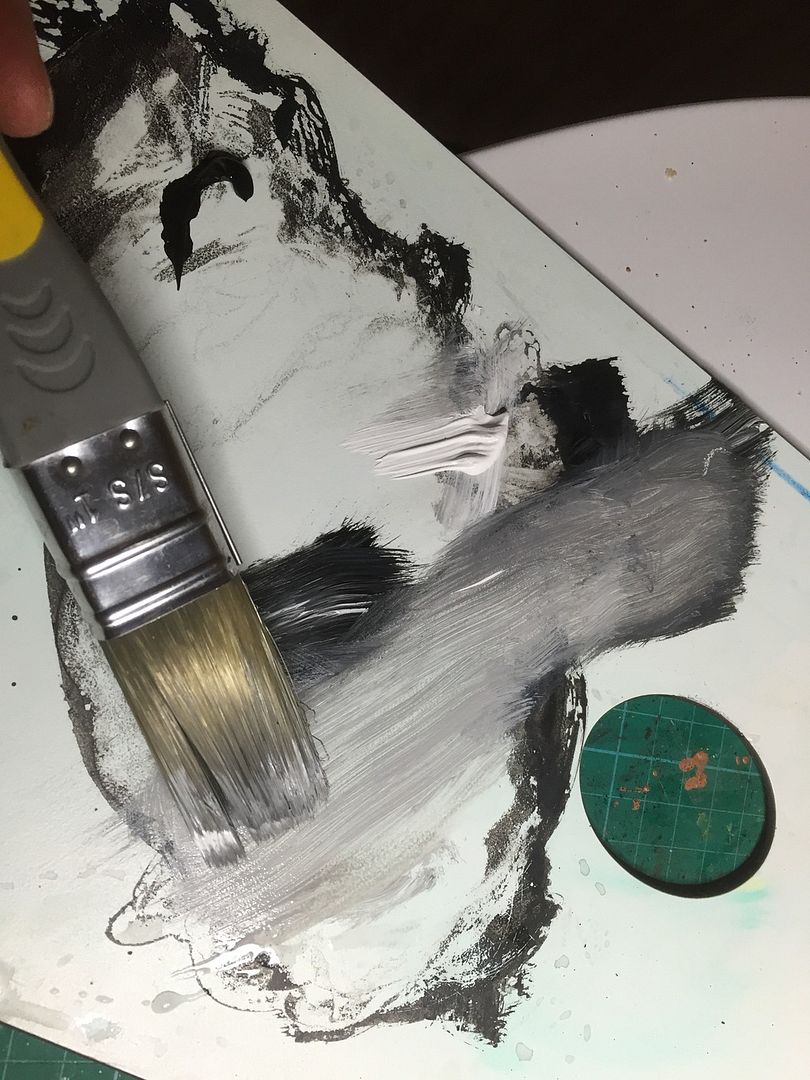
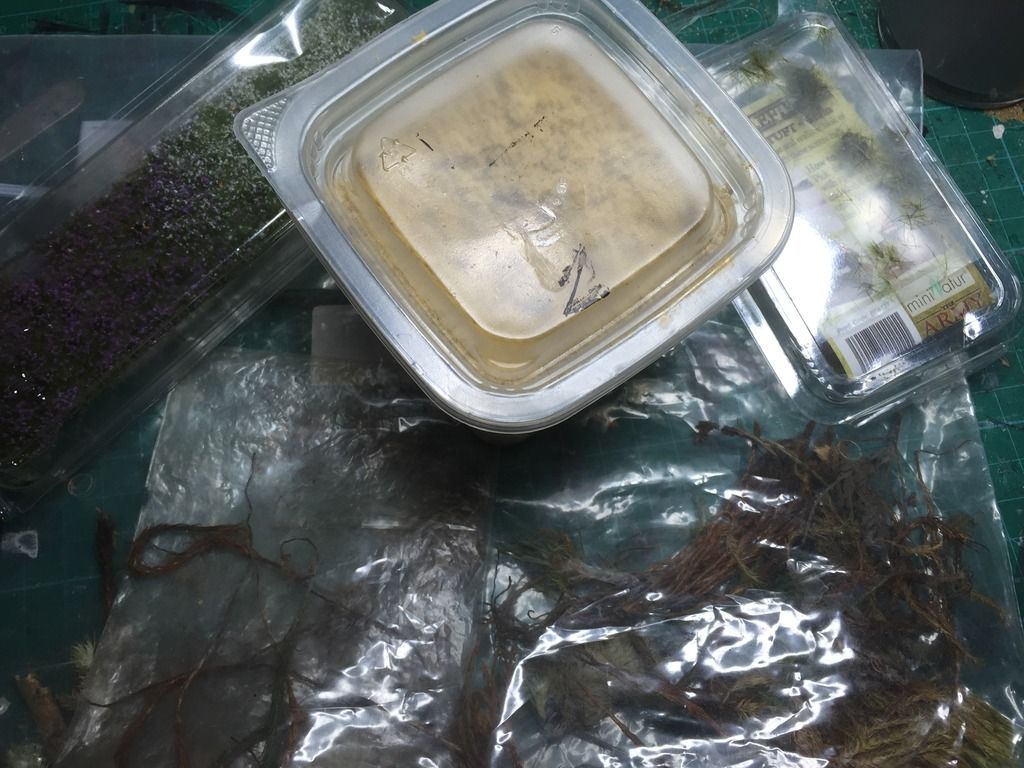
And rummaged through my bitzboxes to find a load of dungeon based bits to add:


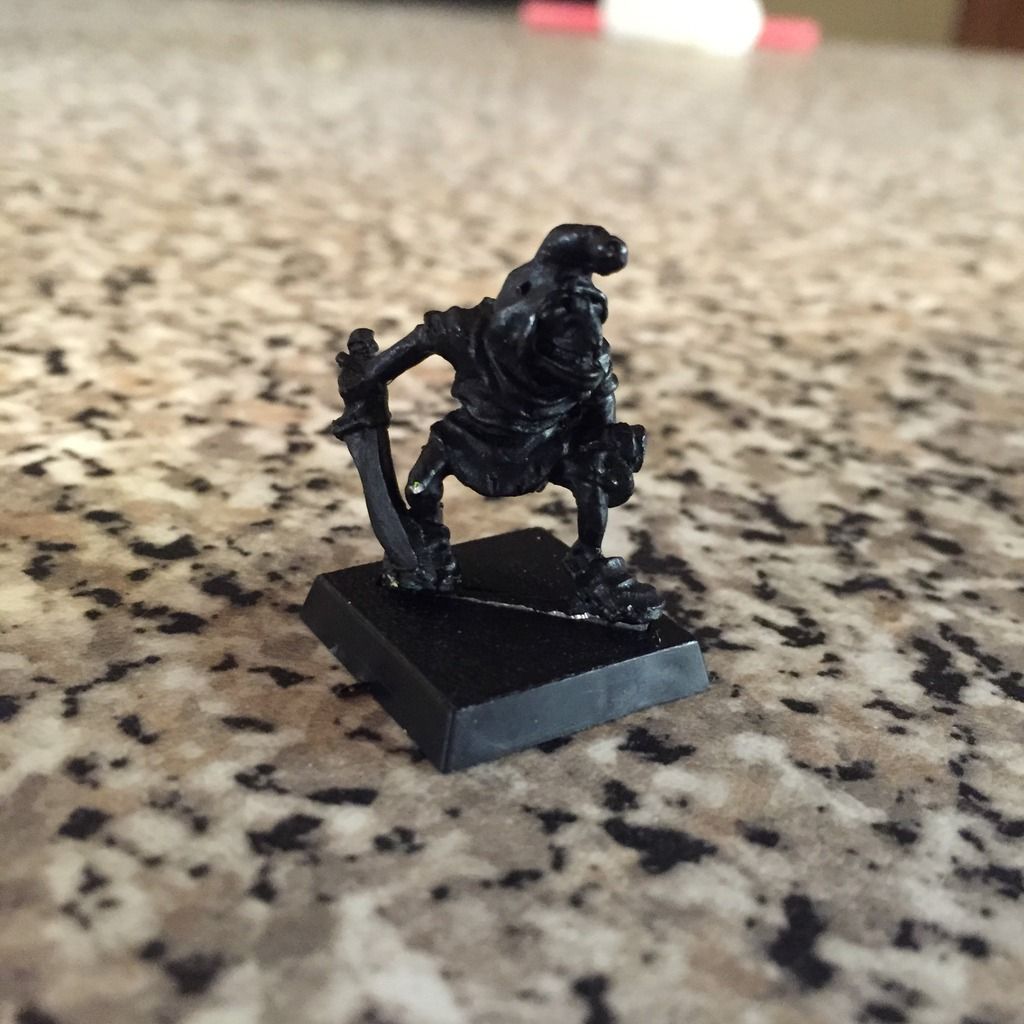
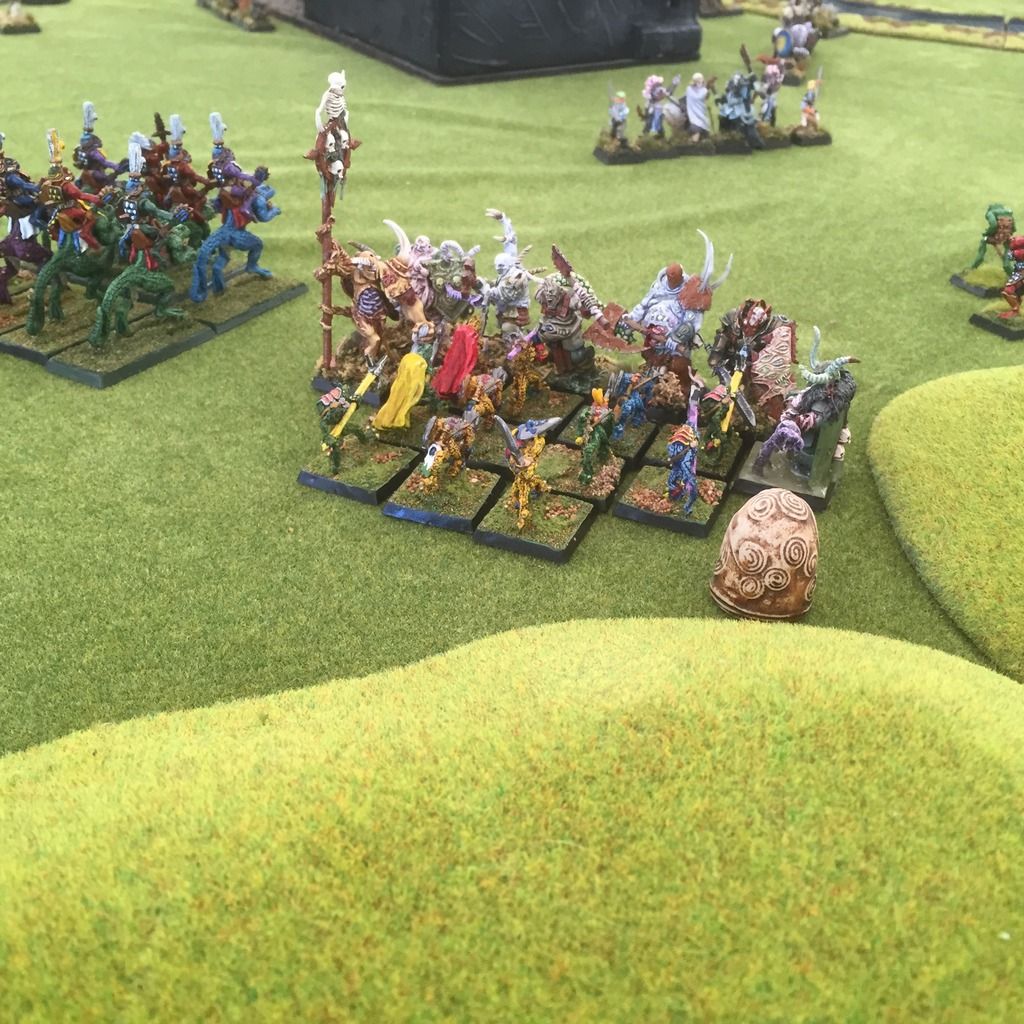
I already have some undead models to use (both oop GW and Mantic) and have begun to collect a few more, including the LotR Army of the Dead figures.

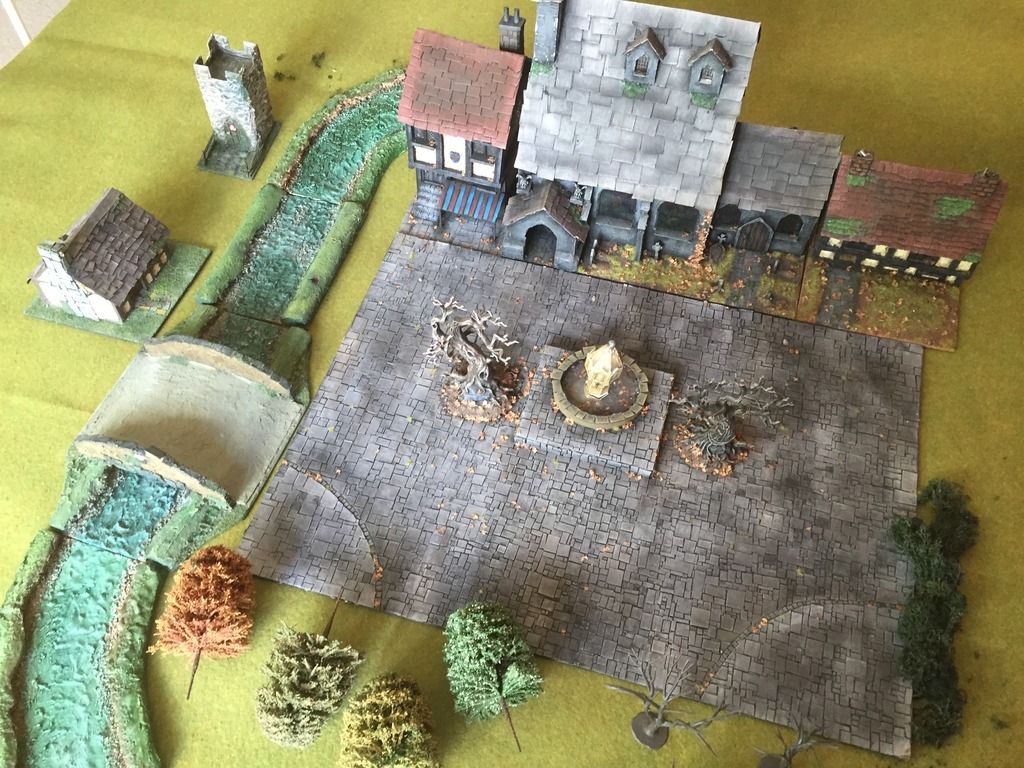
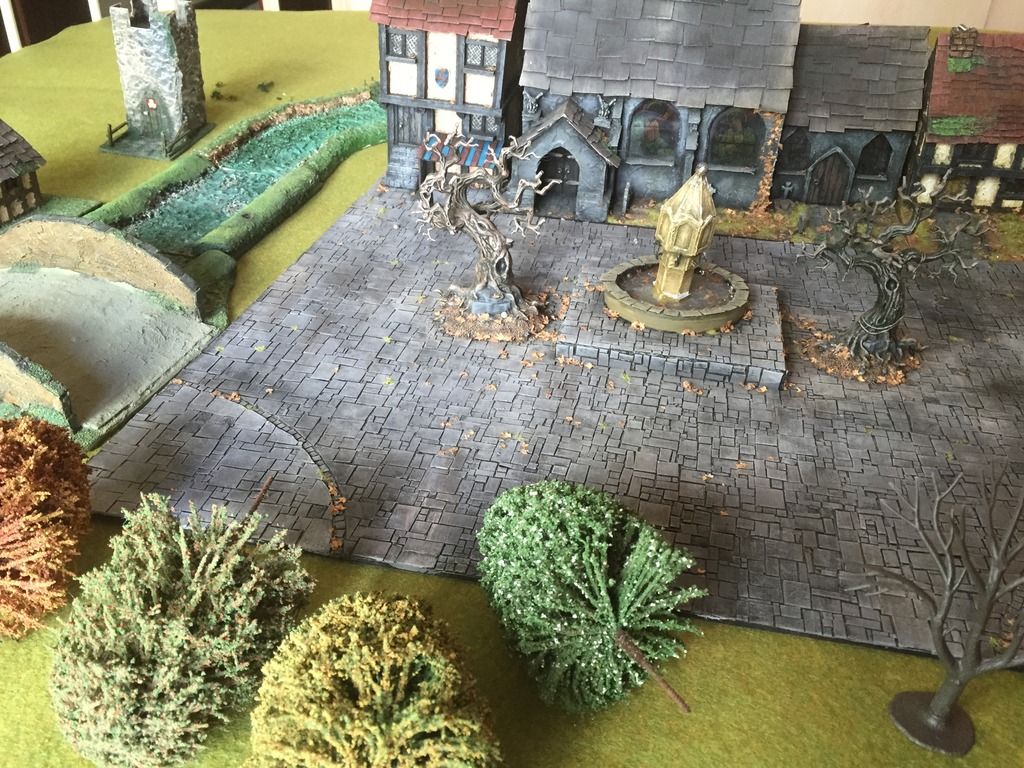
Here's the scenery which will be used above ground:


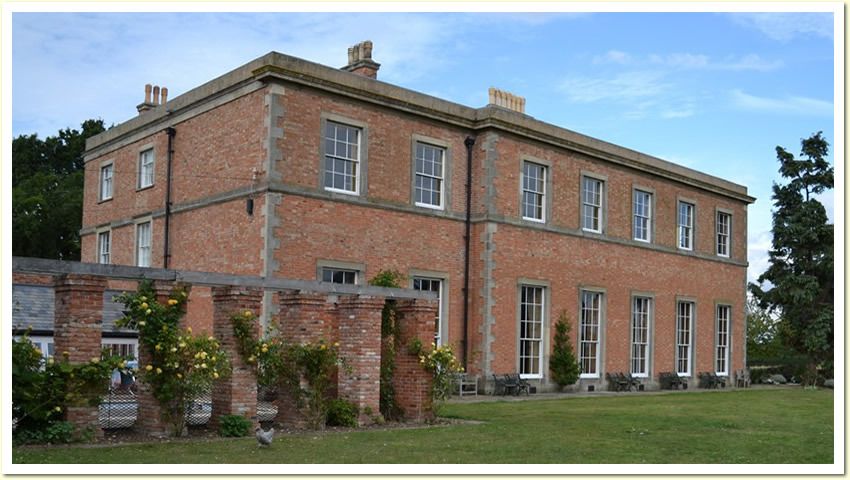
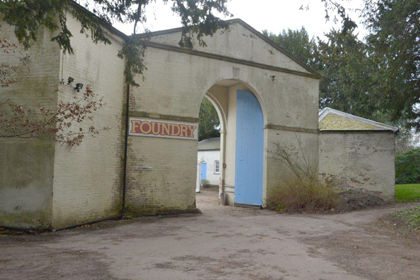
And I'm thinking of modelling the front of Stoke Hall / The Foundry gates as part of it too:


http://www.wargamesfoundry.com


So with so many ideas and things now to do, you can see why it may be a good idea to get my shit together so soon after the last BOYL has just finished!

Any ideas, suggestions or thoughts on all this would be much appreciated at this early stage, before I really get going.

Sunday 2 August 2015

BOYL 2015 report: The Trouble with Kludo and 40k Deathrace

I was very fortunate to be involved with two great games over the Oldhammer Weekend, and there was so much more going on, in fact I didn't even get a game of Bloodbowl in (despite painting late on the Thursday night trying to get the Orc team completed!)

So on Saturday i played a great narrative game of 3rd edition WFB where my Nurgle legions played together for the first time, including my Great Unclean One. Here's some photos:


It was a great scenario written by Garth http://warhammerforadults.blogspot.co.uk/?m=1 where my forces had to defend some portal stones from a combined invasion force of Slann and Halfings. Even though my forces were spread quite thinly my Beastmen and Ogres managed to hold up a large chunk of the invading forces whilst my Chaos Dwarf mortar caused carnage to some of the more fearsome units, including 4 wounds on a treeman. Basically I was amazed at how well my Chaos forces fared in holding up the enemy, Nurgle makes them tough (and of course the 3rd edition rules can make for protracted combats).

My game on the Sunday was the much anticipated Deathrace 40k, arranged by captain crooks who had journed all the way from Oz and I got to play with my (unfortunately unfinished) Freeway Fighter recreation). So much excitement as the cars lined up and the game itself lived up to the expectations with a great, slick and fun game with a beautiful range of vehicles on display. I didn't witness the end as I had to leave after my car (which was winning at the time!) got plasma cannoned whilst about to jump a ramp.. I felt even more like a kid during this game...:


I was so engrossed in my games that I didn't take any photos of the other amazing events that were happening, but I'm sure you can get your fix from the other blogs of the attendees. 

So finally a massive thank you to the foundry for hosting so well, with the venue, hospitality and catering excellent as always; a huge thank you to those who organised the games and to those peeps who played with, what I call, a wonderful oldhammer attitude.